
Replacing your brake pads is one of the most common bike maintenance tasks, right up there with fixing a flat. It’s a simple procedure, but if you’ve never worked on your brakes before it can be intimidating. The following is a step by step tutorial on changing the brake pads in a standard dual pivot caliper brake. The process isn’t much different for v-brakes or cantilever brakes which also use rubber pads to contact the rim.
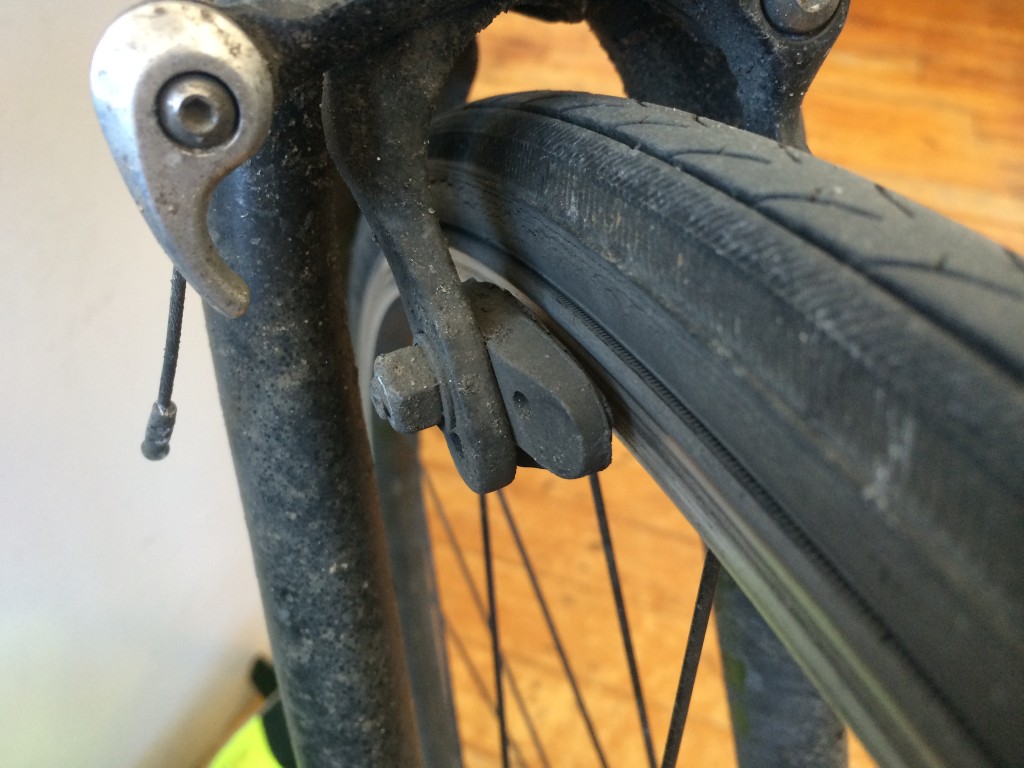
Usually brake pads have grooves cut into the braking surface. Once they’re worn down past the grooves, it’s time to replace them.
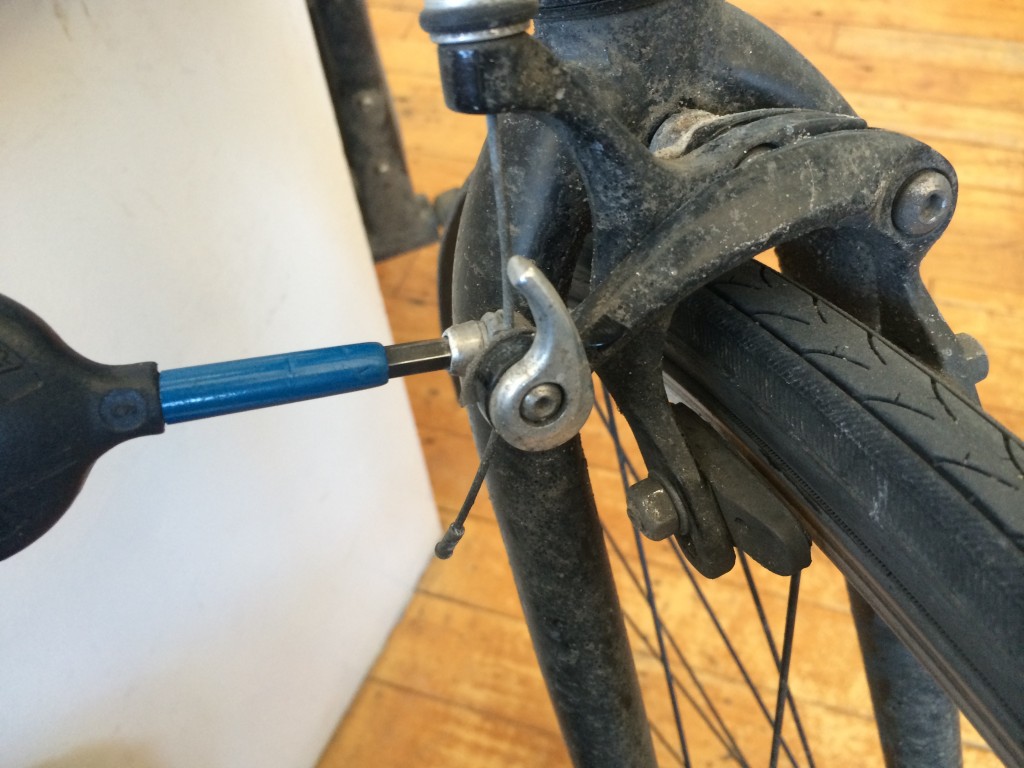
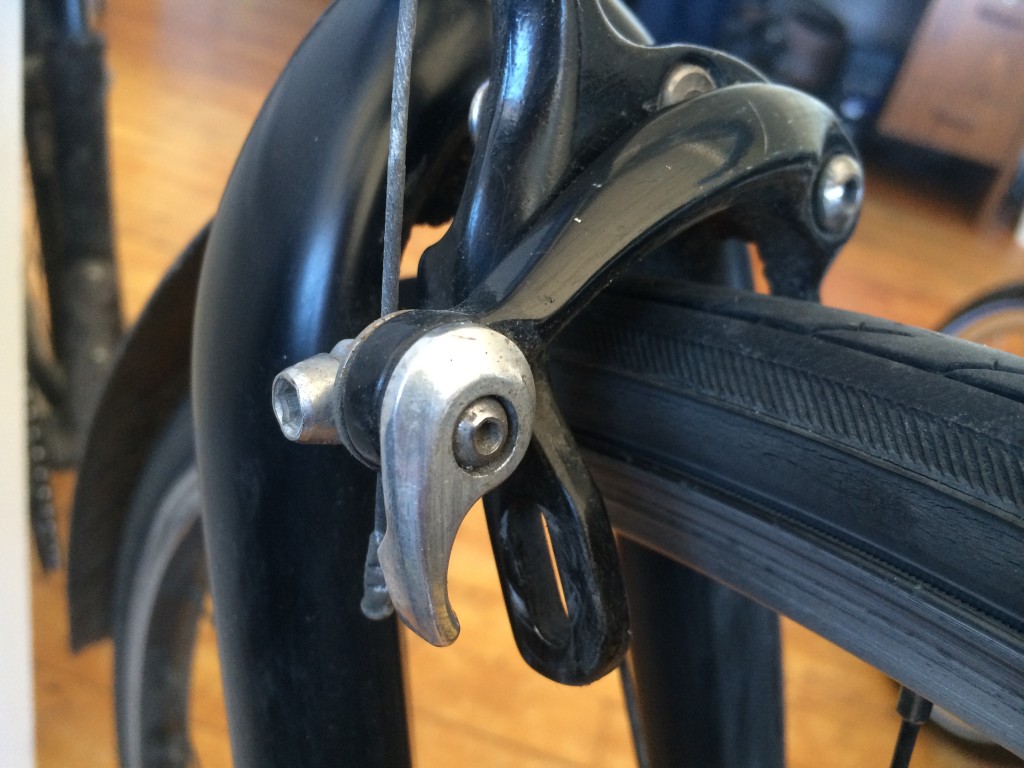
Start by loosening the brake cable and opening the caliper. This will allow room to slide the pads in and out between the brake arm and the rim. Most calipers have a quick release lever which opens them up wide enough to work (the silver lever in the photo above). You can also loosen the pinch bolt holding the brake cable to the caliper. This will allow the brake arms to open to their maximum width.
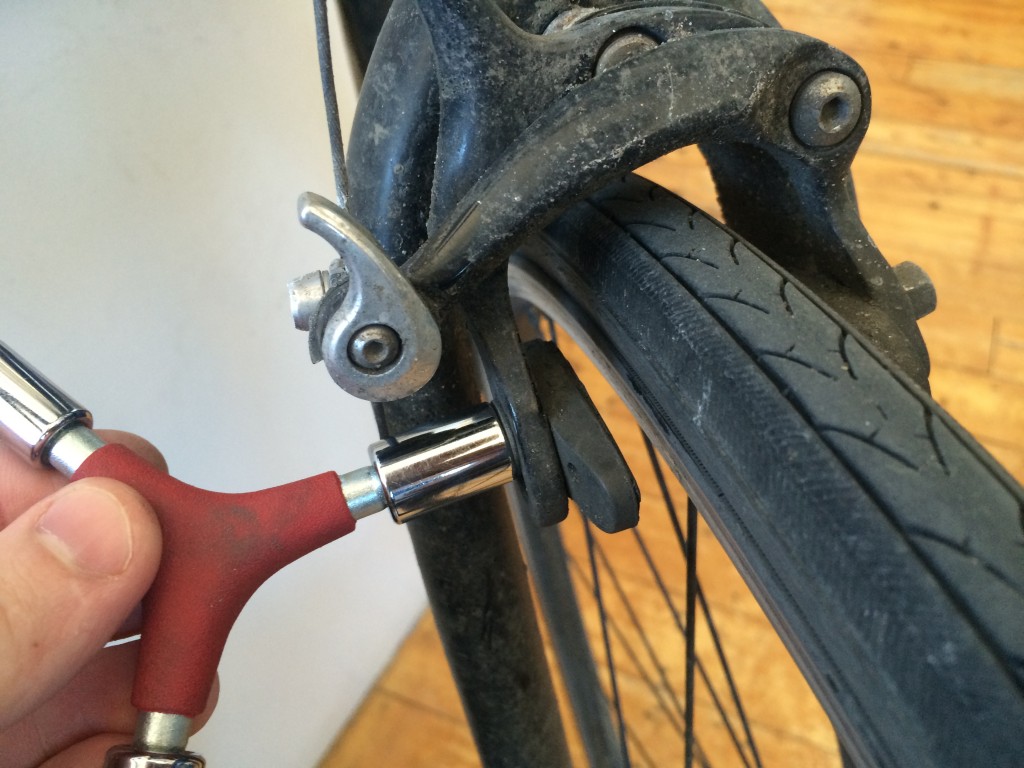
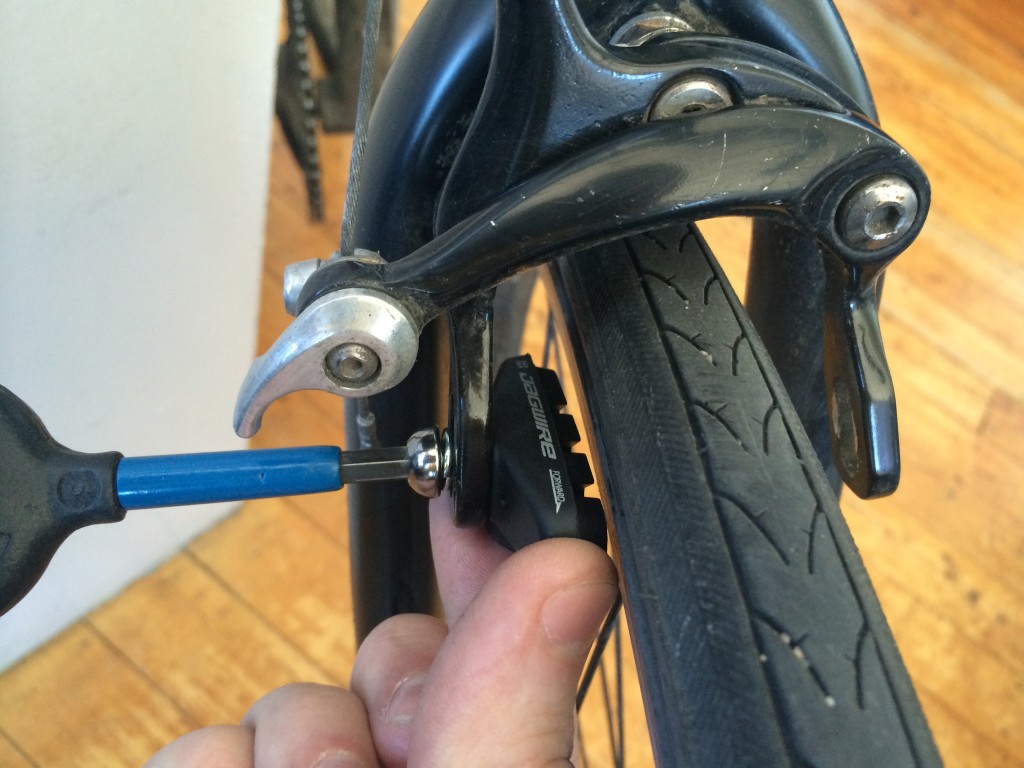
Each brake pad will have a nut or short bolt holding it onto the brake arm. In this case, a 10mm socket is needed to loosen them. Once the nut is off, the pad will easily slide out of the caliper.
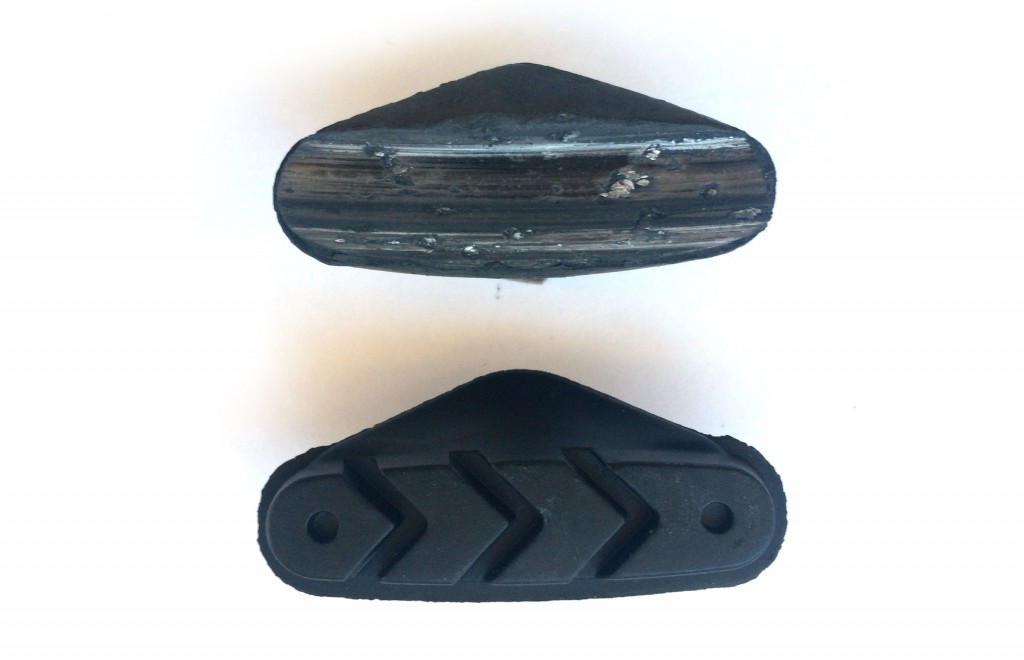
Above is the old worn out pad (top) and the brand new bad (bottom). Notice the grooves visible in the new pad are completely gone in the old pad, which indicates how much material has worn away. You can also see debris embedded in the old pad, which was likely picked up from the road. This can damage your rim when braking.
While you have the brake pads off, it’s a good opportunity to clean the calipers thoroughly. Put a drop of lubricant on the joints and moving parts of the caliper as well. Just don’t get any oil on the rim or new pads, as it can reduce braking power. You should wipe down the rim with a clean rag though, and make sure it’s clear of any debris or damage.

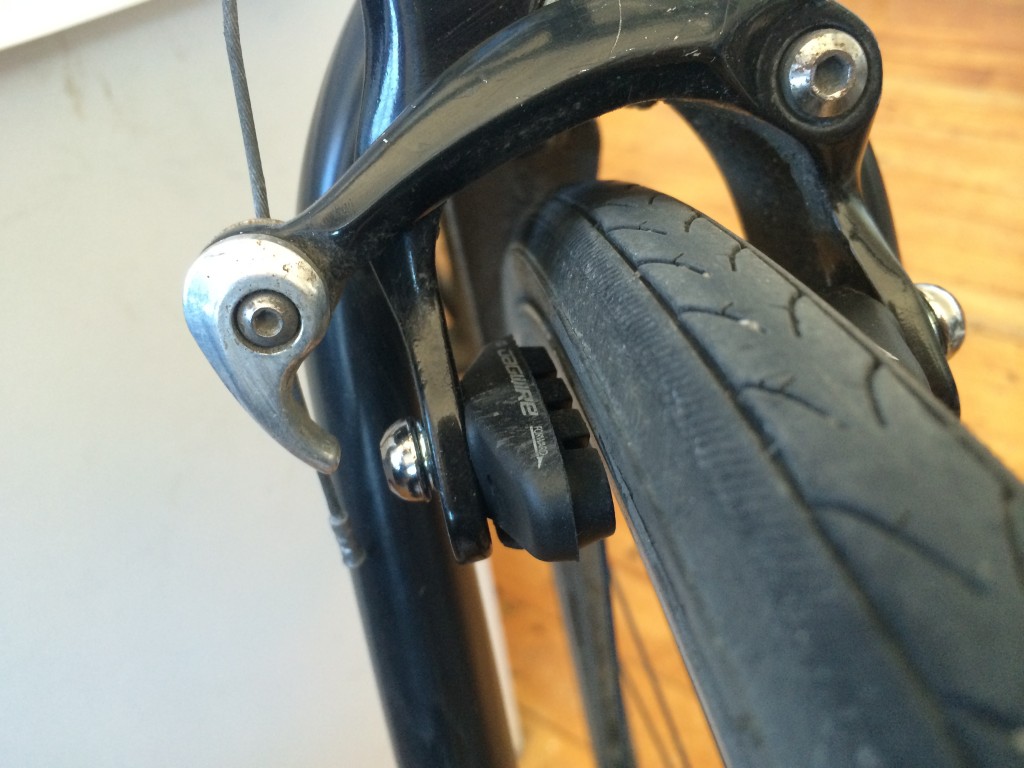
The new pads are likely directional, and should indicate which side points forward. These Jagwire pads have a very clear left and right marking as well as a large “Forward” and arrow. Some pads may just have a small arrow, so take a close look.
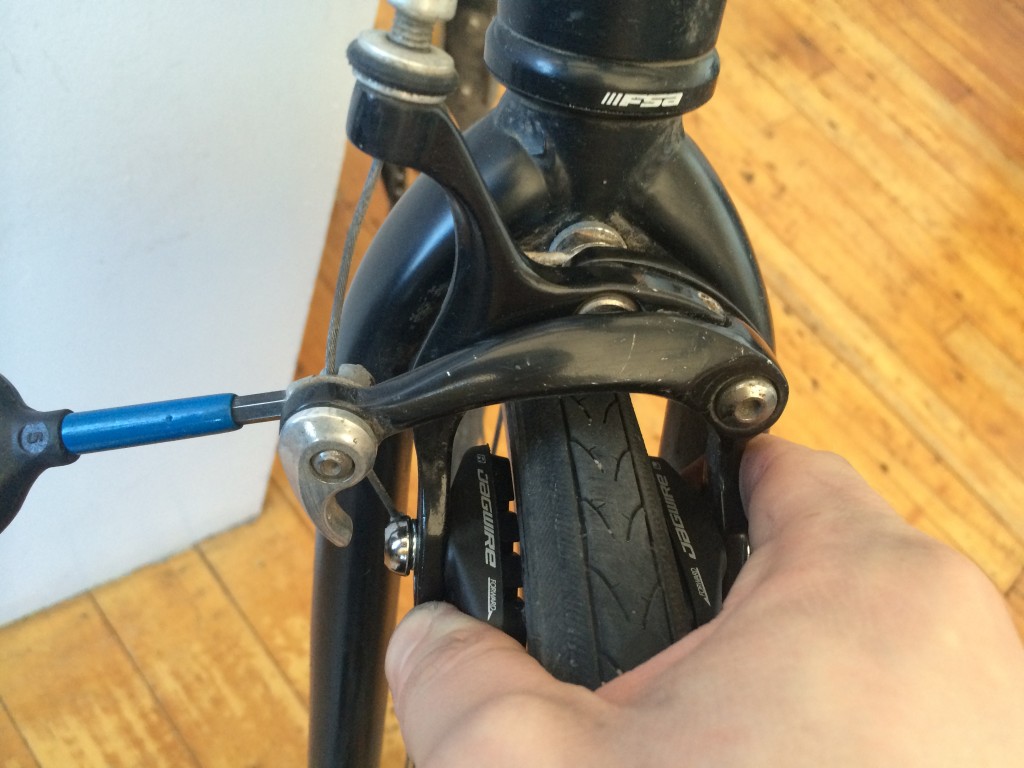
Remove the bolt or nut from the post of the new pad, and slide it into place. Hold the pad parallel with the rim while you tighten it up. It’s also important to be sure it’s centered vertically on the rim, so the entire pad contacts the braking surface. The slotted brake arms allow the pad to freely slide up and down.
Once both pads are on, squeeze the brake arms together, make sure the brake cable is pulled taught through the housing, and re-tighten the pinch bolt to hold the brake closed.
You want the pads to be as close to the rim as possible without rubbing in order to attain fast response and maximum stopping power when the brake lever is pulled. Fine adjustments can be made with the barrel adjusters where the cable housing enters both the brake caliper and the lever. Turning them counterclockwise will put more tension on the cable and move the pads closer. Turning clockwise will lessen tension and move the pads away from the rim.
Repeat the process with your rear brakes, and take a moment to make sure everything is properly tightened before riding. Test the brakes out while riding at a slow speed first to make sure they’re working properly. If you have any doubts about your work, bring your bike to a professional bike mechanic. Happy riding (and braking)!
