
Tubeless tires are extremely popular in the mountain bike world, and they’re starting to appear on road bikes as well. The idea is quite simple; get rid of the inner tube, install a special rim strip, and with the right tire a liquid sealant can be used to create an airtight installation. The lack of inner tube allows for lower tire pressures without the risk of pinch flats (when the tube get’s pinched between the rim and the ground). That means a larger contact point with the ground, better traction, handling, and bump absorption. And for the most part, punctures are usually stopped by the liquid sealant in the tire.
While many new mountain bike wheels ship as “tubeless ready”, you can actually convert your existing wheels to a tubeless system. I recently made the switch to tubeless with a kit made by Orange Seal. This includes the rim strips, valves, and sealant. Make sure you get rim strips with the correct width for your rims. 24mm is pretty standard for mtb wheels, but measure the inside width of your rims to be sure.
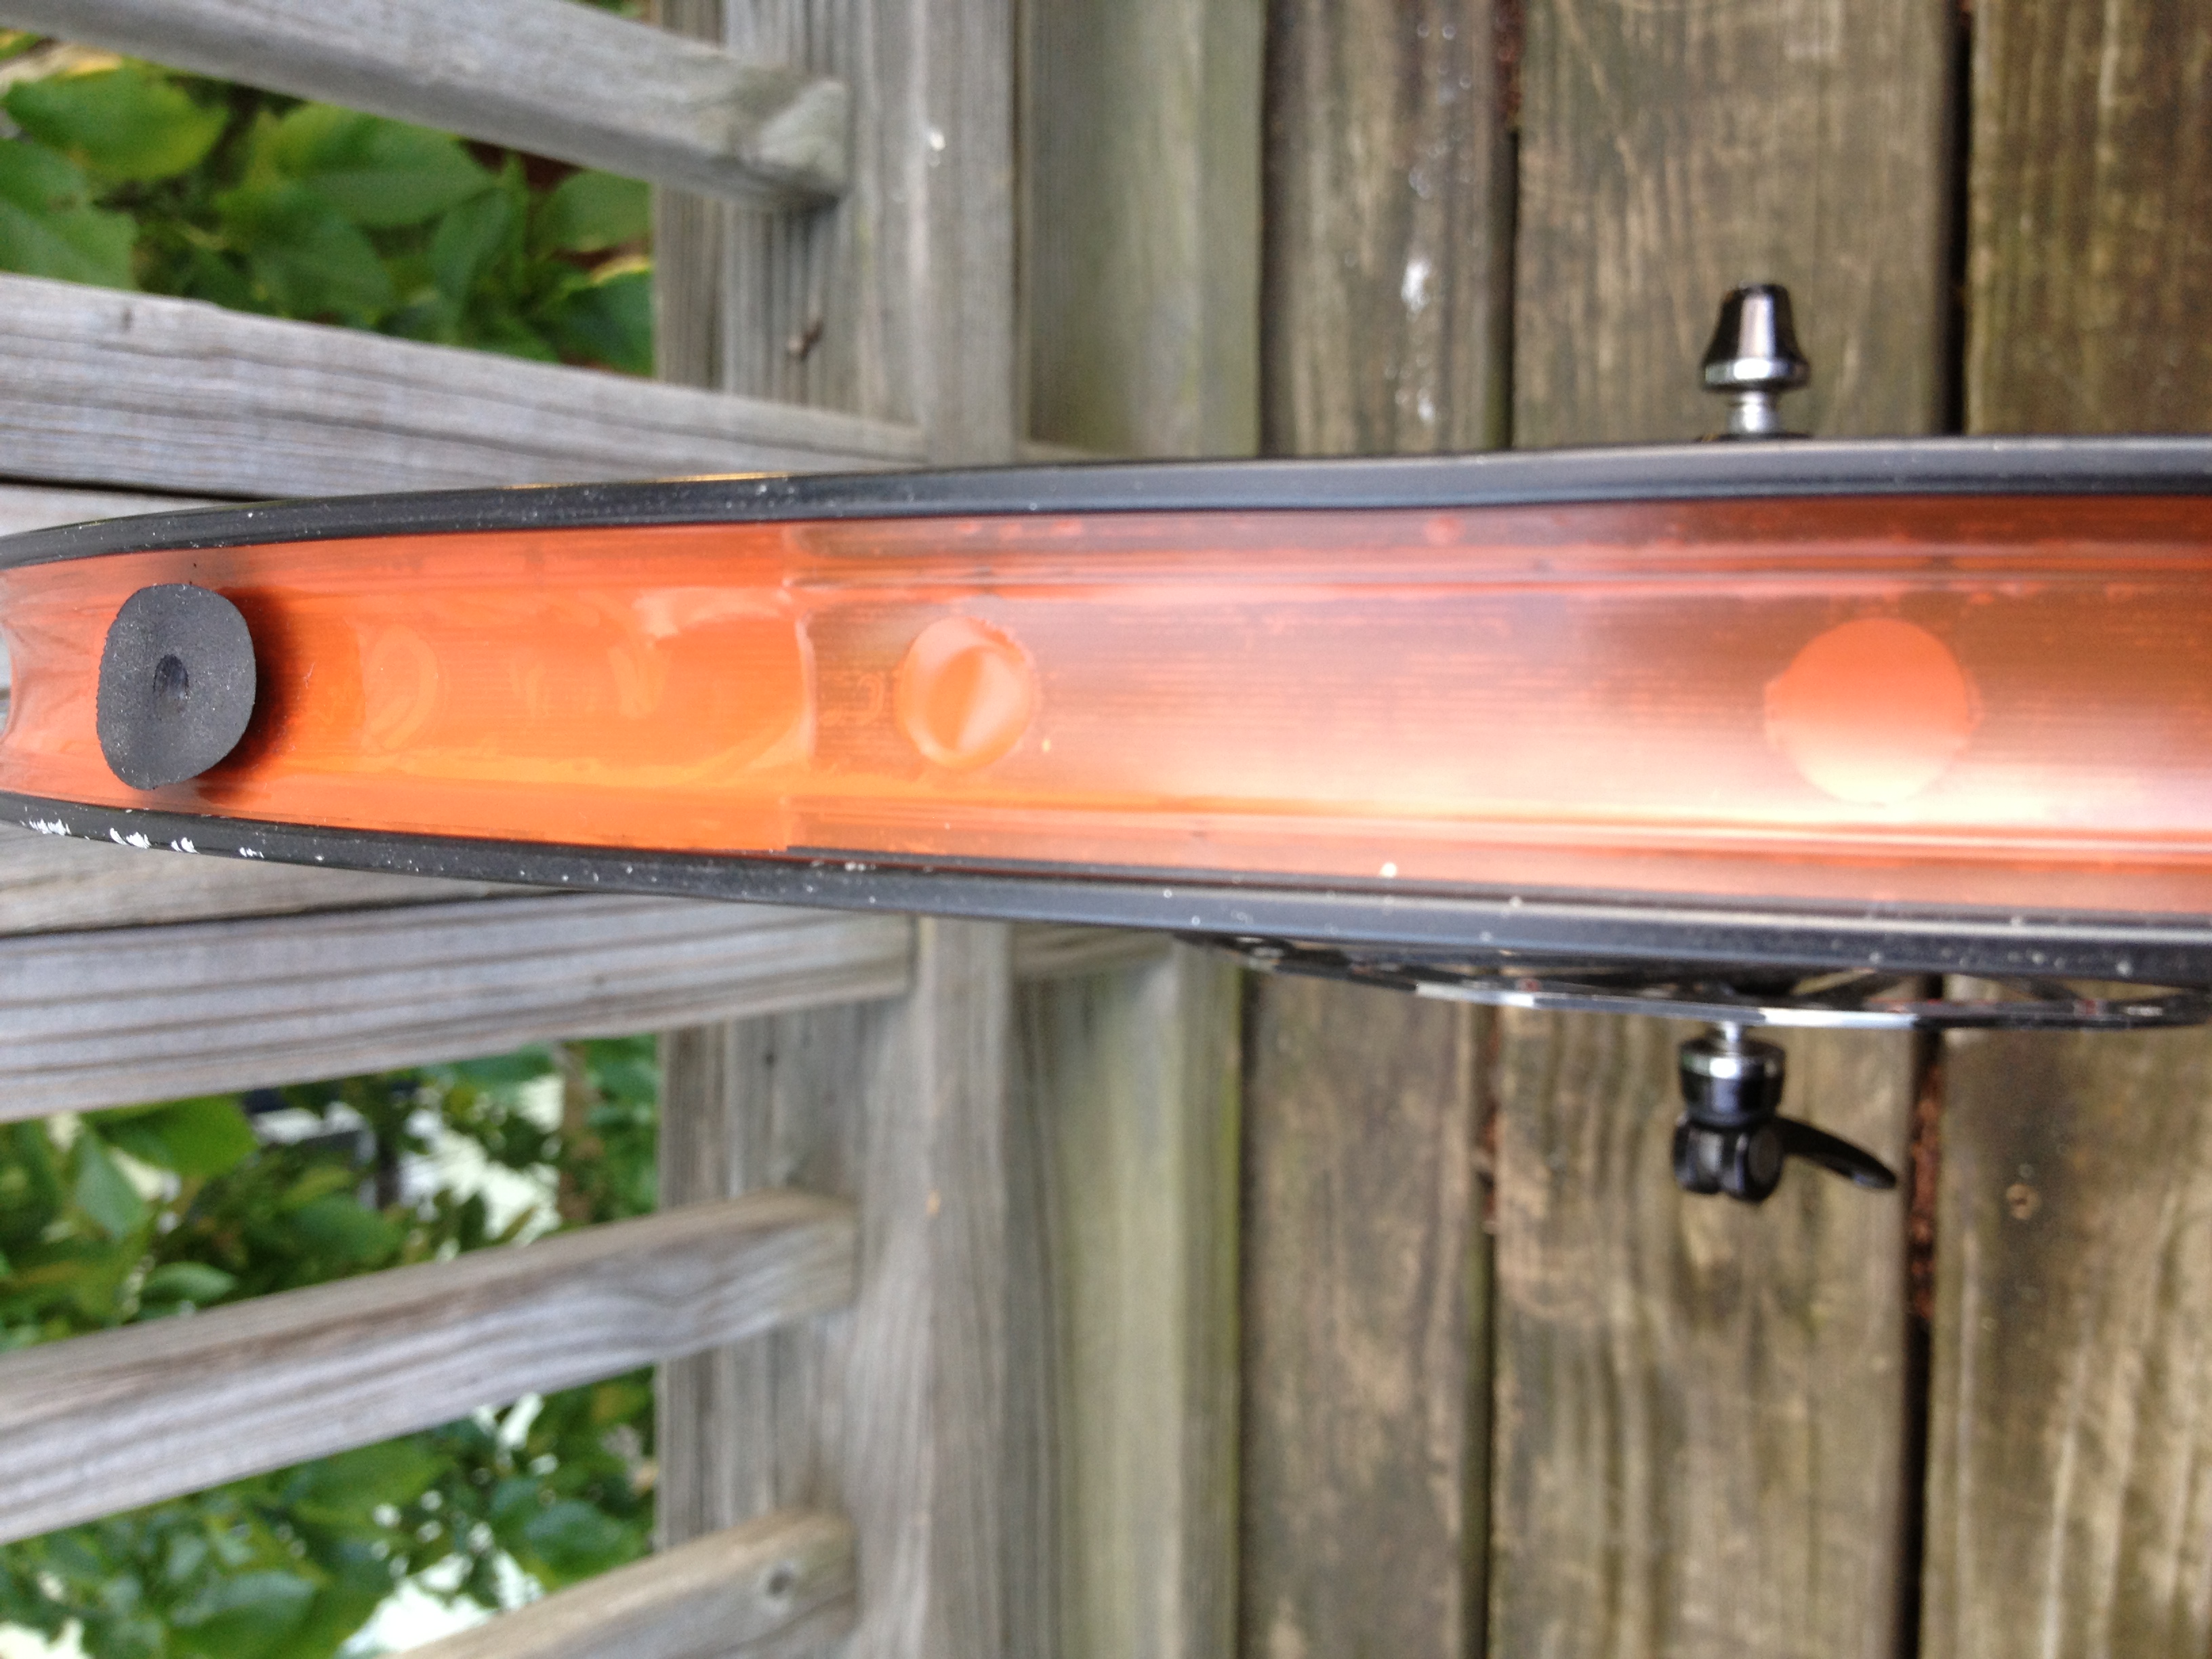
Lay the strip in the center of the rim. It should come up on the sidewall of the rim on each side. I removed the existing rim tape before applying the tubeless strip, but I recommend leaving it. There’s no reason to get rid of it and many tubeless kits recommend using two layers of their tape if you do remove it.
Old tires, tubes, and rim tape. Good riddance!

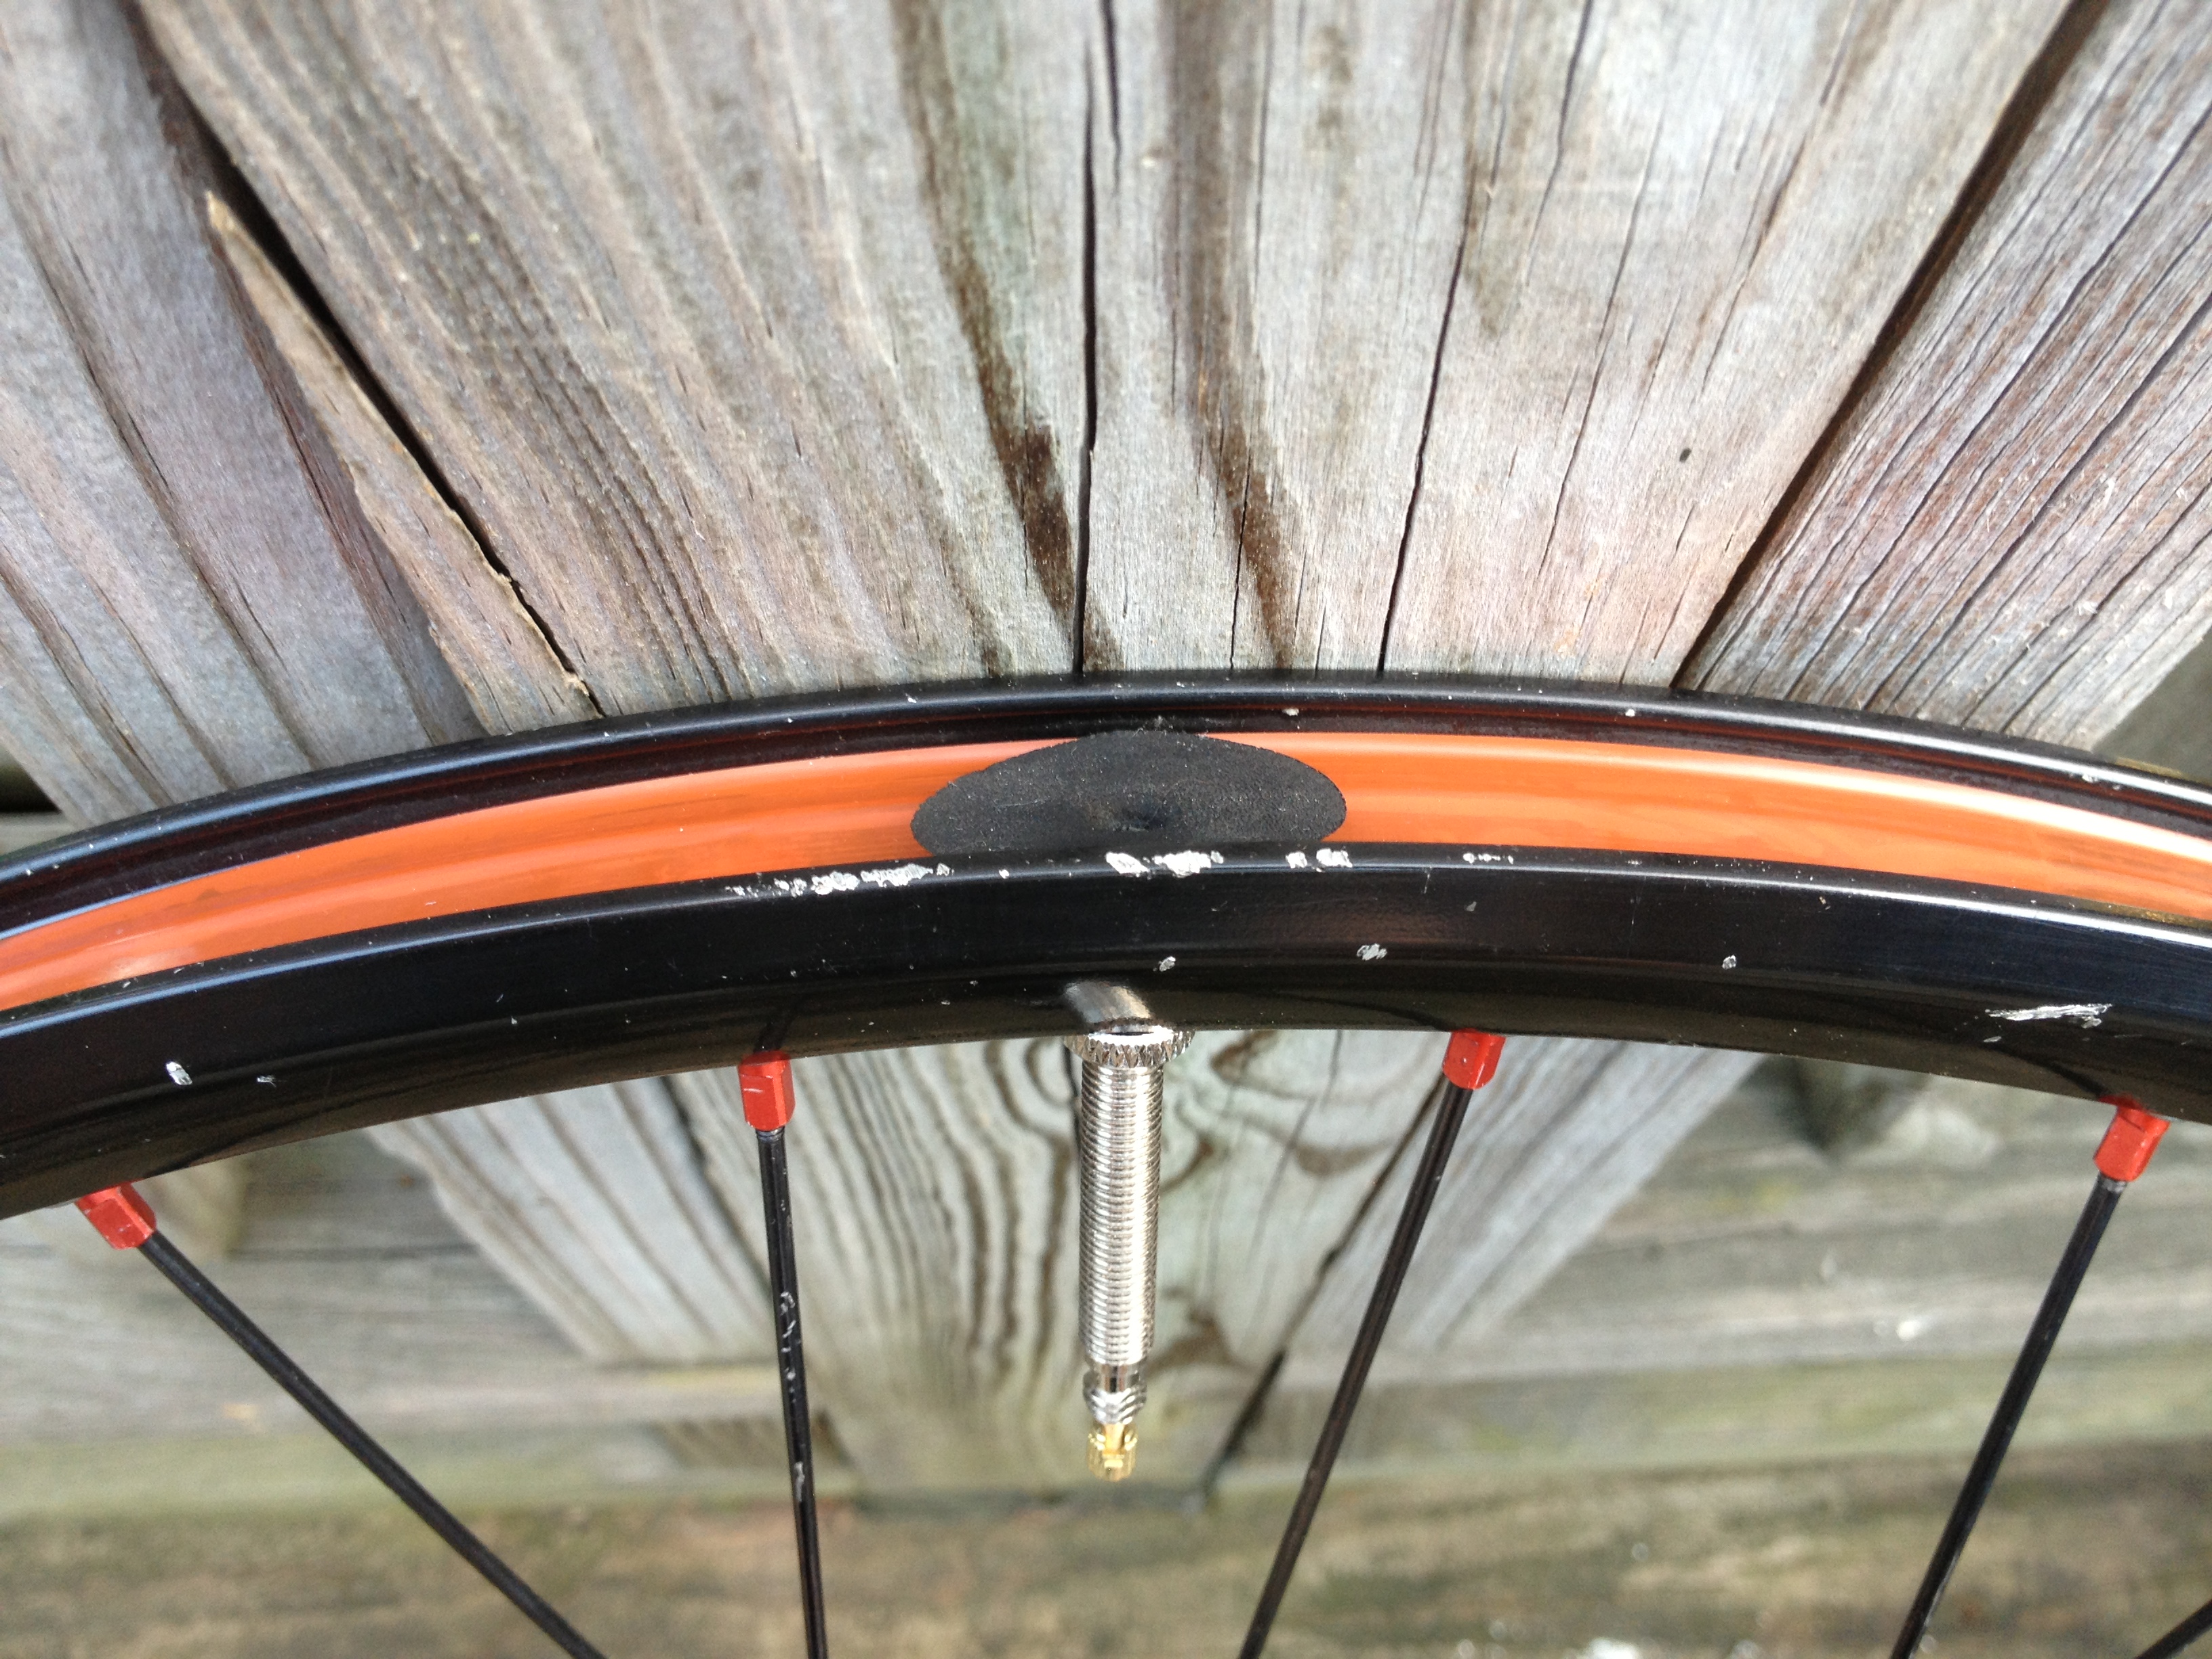
The Orange Seal system has the valve separate from the tape. Once the tape is installed, cut a small slit over the valve hole and push the valve through. Depending what valve type you used before, the hole size may vary (presta vs. schrader). I’ve heard of some people having the separate valve pull through on the larger schrader hole, so in that situation a system that has the valve integrated with the strip may be better (like Stan’s No Tubes).
Time to install the tire. I upgraded to a lighter set, but with a kit like Orange Seal you can use your existing tires. To accomplish the initial seal more easily, cover the rim and the tire bead with a soap and water mix. Until the sealant is properly distributed inside the tire, the soapy water will allow for a temporary seal.
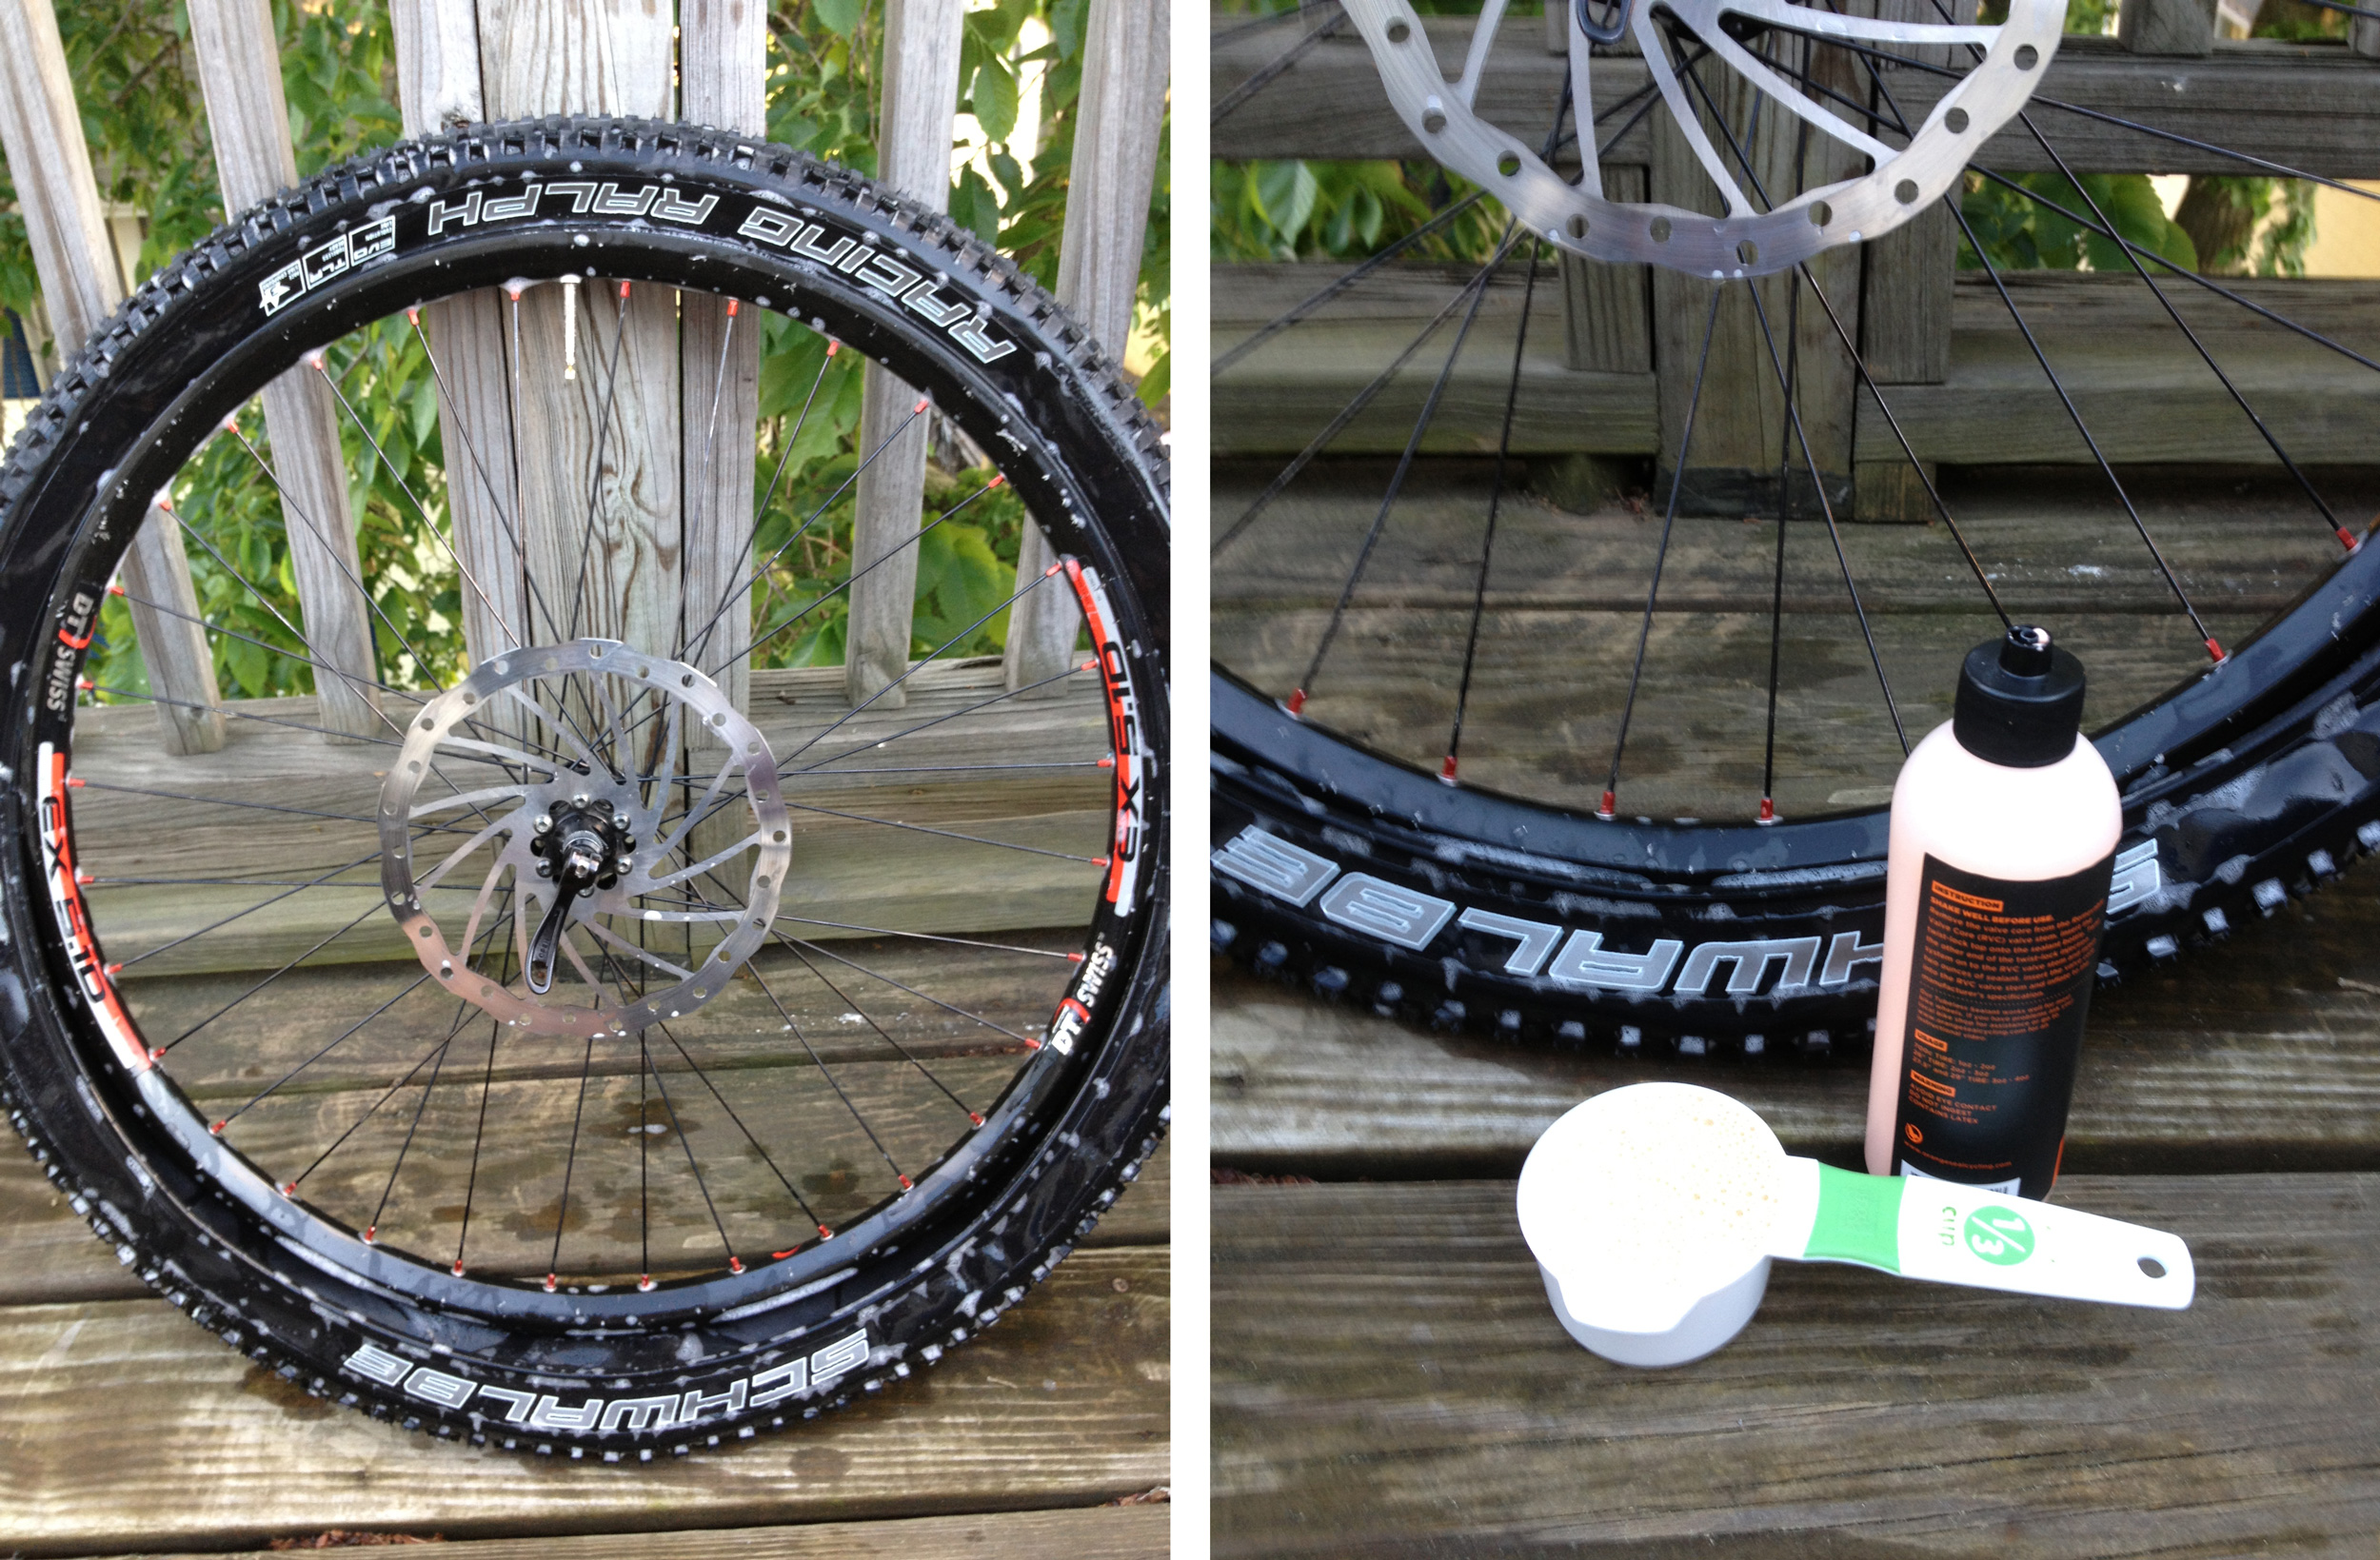
Install one side of the tire, then squirt the sealant into the tire at the bottom. Push the other bead onto the rim and grab your compressor. In order to inflate the tire quickly enough for it to seal, compressed air is a necessity. If you don’t have a presta fitting for your compressor, a schrader to presta adapter is a quick fix and handy to have around anyway. A quick blast of compressed air should push the beads of the tire against the rim and seal it up. Once seated, you need to distribute the sealant throughout the tire to make sure it covers every inch of the seams. Turn the wheel around, shake it, spin it; whatever it takes!
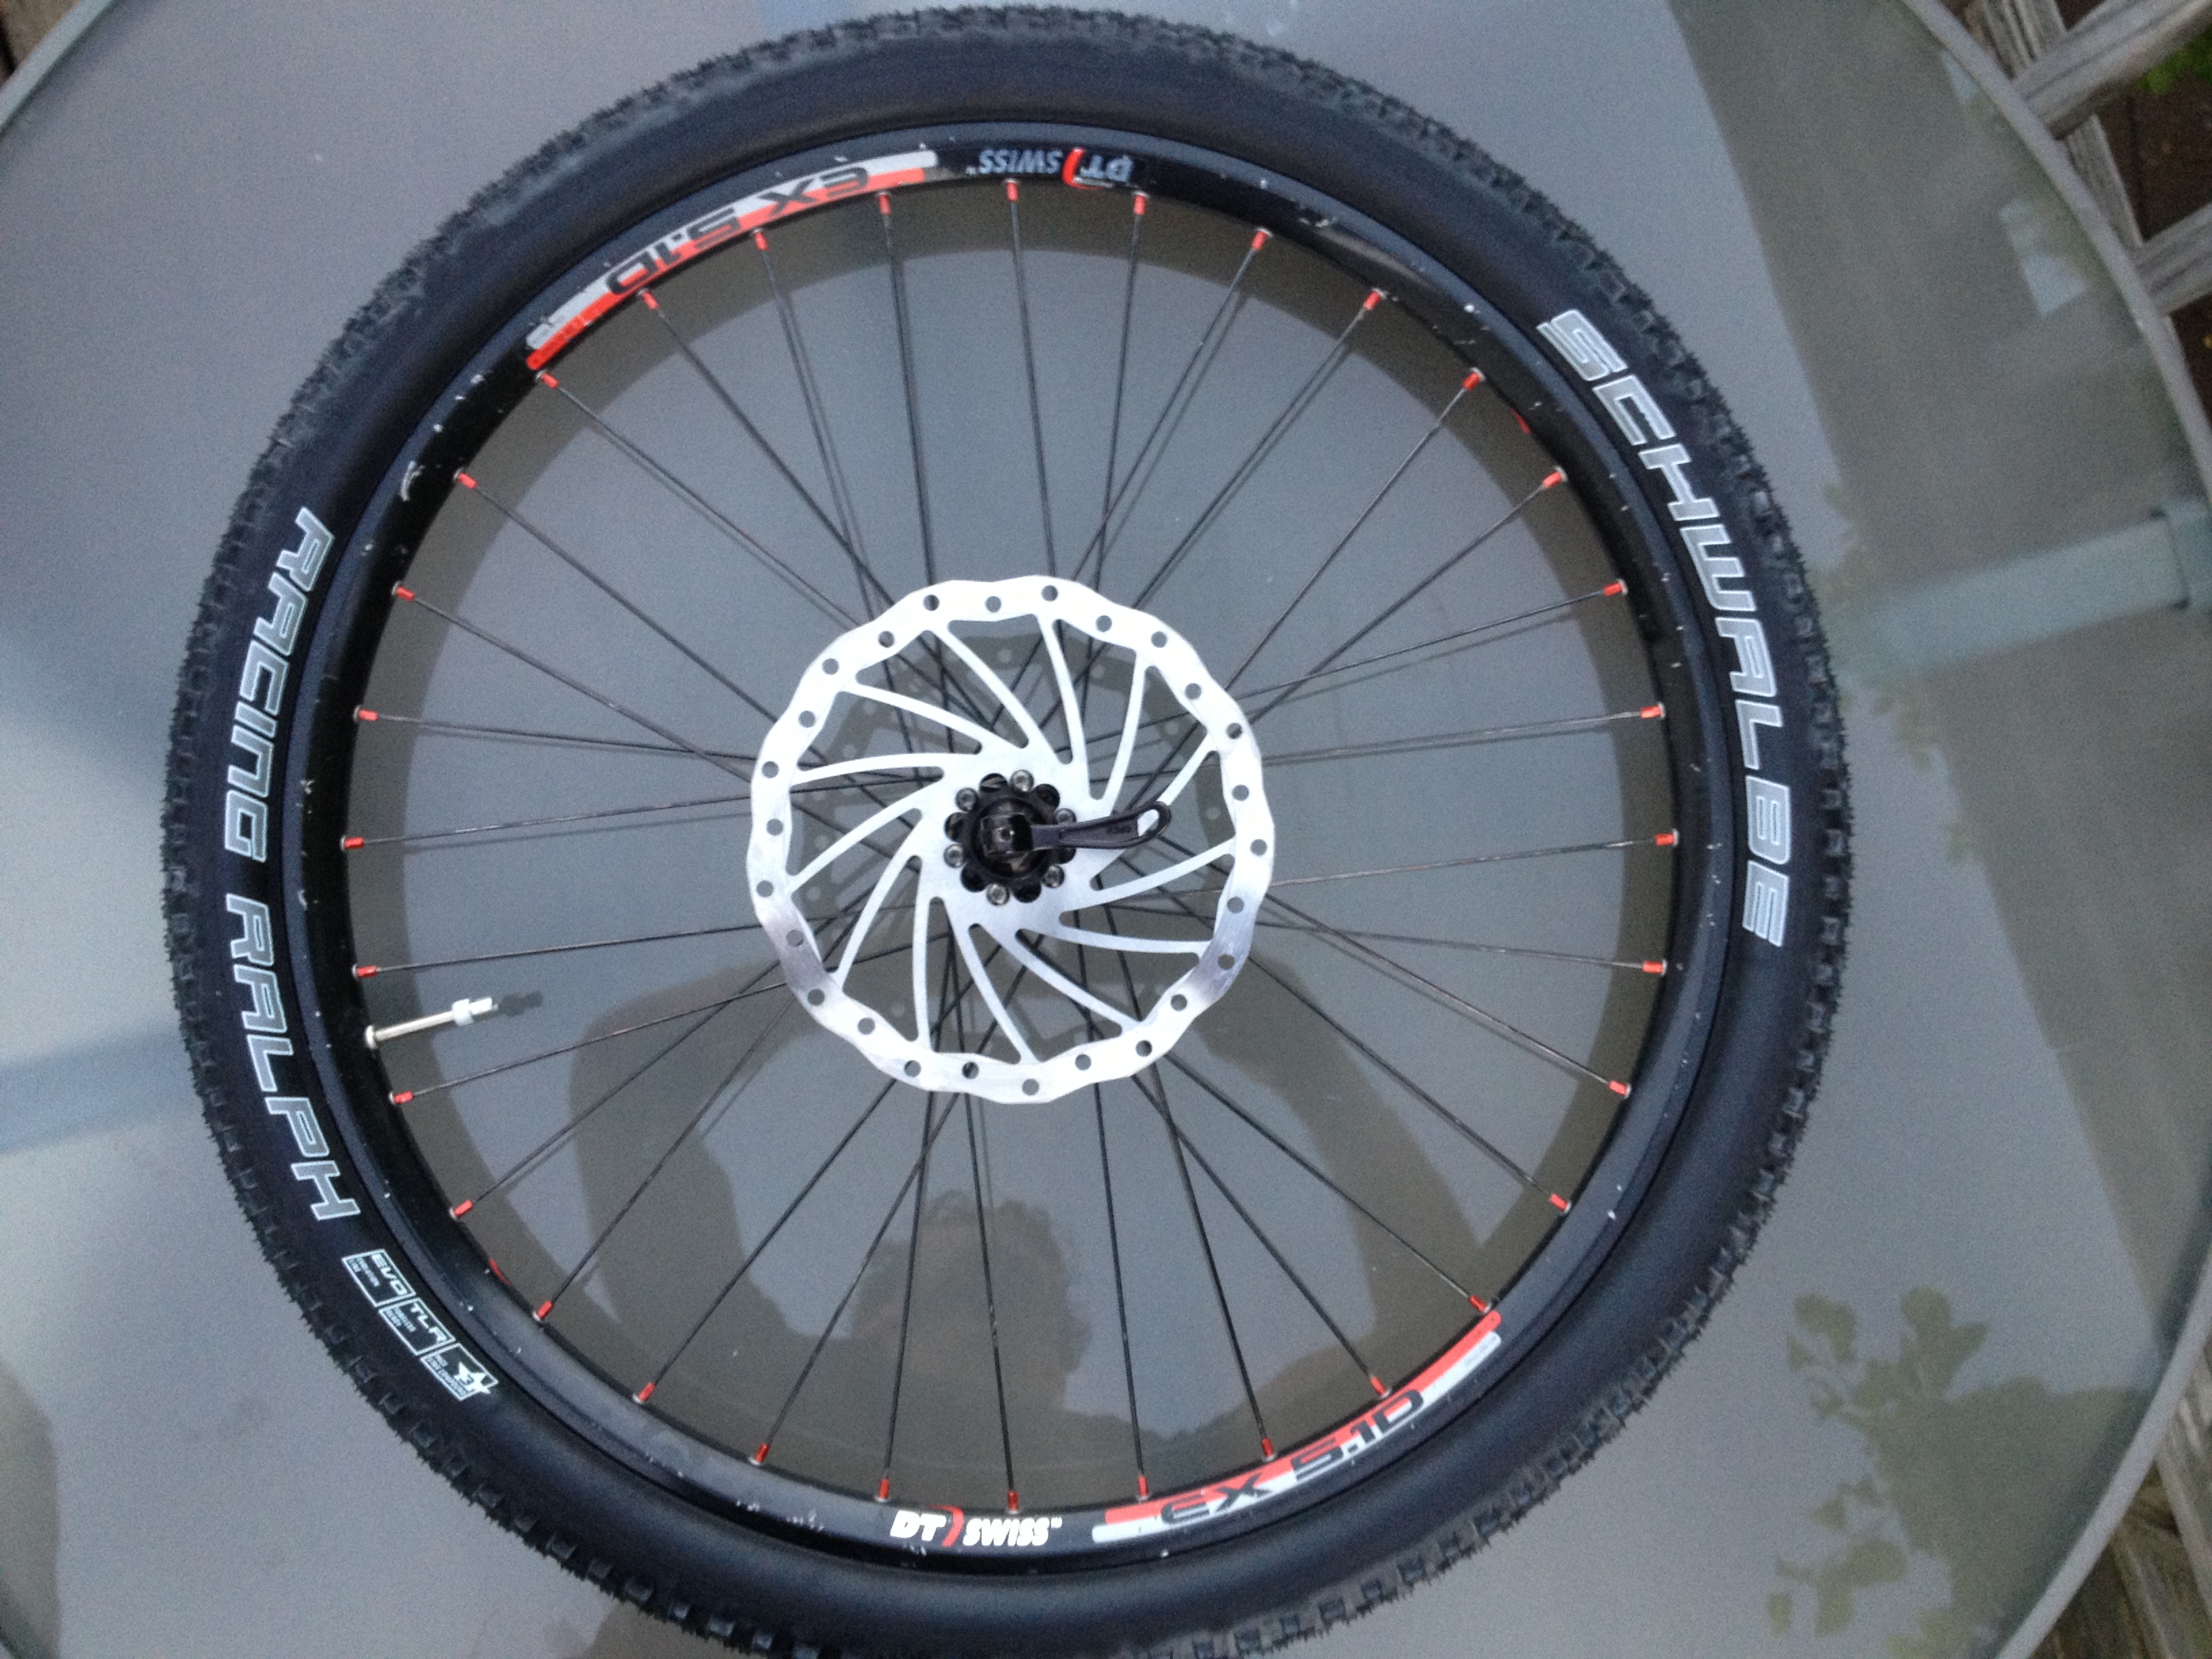
Once you feel that sealant is evenly coating the inside of the tire, inflate to your desired psi and get riding! Finished tire sans tube:
While the sealant does a pretty good job of stopping air from leaking out in the event of a puncture, a large hole or tear in the tire can be a problem. If you’re out on the trail you should carry a spare tube just in case. It can be installed if necessary to get you home.

This is for a gravel bike. Do you need special tubeless tires.
700×38 ?
Most tubeless conversion kits, like Stans No Tubes or Orange Seal, claim that you can use just about any tire, but they recommend choosing tires labeled “Tubeless Ready” for best results. Some tires are more porous than others, and may require more sealant during initial setup.
I’ve fitted my back my mtb tyre on the wrong way tubeless .do I need more sealant when turning it around !
That depends if you’re able to conserve what’s in there already as you take the tire off and put it back on. It also depends how long the tire has been in place. If it’s already been there for a while, it’s more likely that you might need to add some sealant when re-seating the tire, as it can evaporate/dry out over time. It’s usually recommend that you refresh the sealant or add more every 6 months for this very reason.
I have a clincher road wheel that doesn’t state it is tubeless compatible – can you confirm that I can use a kit to convert to tubeless? Do I need a tubeless tyre rather than the current clincher to achieve this change?
A conversion kit should work with the standard clincher wheel that you have, however, you will need a tubeless specific tire for it to properly hold air.
I’ve just been to a bike shop and they’ve just given me a rim strip (with valve hole in it), but no tape. Everywhere online I read you need the rim tape. Could I just put sealant in and pump up with a non-stick rim strip? Or is rim tape 100% necessary?
A conversion kit that includes rim tape and a valve is necessary, as far as I know. Even when using a tube, all rims have some form of rim tape or strip in order to cover the spoke holes, but this is not the same as the tape needed for a tubeless setup.
Can i use a regular rim that is not tubeless ready or able to do tubeless conversion
With the correct conversion kit, like those from Stan’s No Tubes or Orange Seal, you can use a normal rim.
Is the Montague FIT double walled?
Yes. The rim on the FIT is double walled.
I recently bought a GT Aggressor Pro from a friend of mine to get back into mountain biking at an entry level. The stock wheels are All Terra asd10. The tires are 27.5 x 2.1. They also have tubes with a presta valve. I wanted to upgrade the tires so I ordered some Maxxis tubeless Aggressor 27.5 x 2.5. Do I need to purchase a tubless conversion kit or can I just purchase a correct sized tube for the new tubeless tires? Or if I can go tubeless with the stock rim, should I still keep a spare tube for emergencies?
You can always use a tube inside of a tire even if it is designed for tubeless. People running tubeless do often carry a tube in case they get a large enough puncture in the tire that the sealant can’t take care of it. If you don’t want to go through the process of a conversion, you can get the appropriate size tubes and use them in your new “tubeless ready” tires.
always keep a tube for emergency
I’ve got a pair of road wheels that aren’t ‘tubeless ready’. Can they be converted to tubeless using this process or are the tubeless ready rims different in construction and I should buy a new set of rims?
Hi Jason. They can indeed be converted using one of the conversion kits mentioned here. Tubeless ready rims on the other hand, do not have any exposed spoke holes in the bed of the rim (just a valve hole), and therefore do not require any rim tape.
Hi I have 27.5 alloy double walled rims and maxxis ardent tyres that are tubeless ready my local guy he said he couldn’t make them tubeless for some reason
Would this kit work on mine I just bought it brand new its.a.carrea sulcata 3.2
Thanks
In theory a conversion kit like this should work with any standard double walled rims. However, you may want to contact the maker of the conversion kit you’re considering with your exact rim specifications to be sure. The most popular are Stan’s No Tubes and Orange Seal.
Regarding your local shop, they may not want to be responsible for installing conversion kits since they can be less reliable than a wheelset made tubeless specific from the factory. With so many options for tubeless wheelsets now, some bike shops may opt to not install conversion kits.
Can you convert tubular road wheels to tubeless?
A wheel made for tubular tires could not use this type of tubeless setup, as there is no “hook” on the rim to hold a standard beaded tire in place. However, tubular tires are arguably the original “tubeless” tire in that they do not use an inner tube.
“However, tubular tires are arguably the original “tubeless” tire in that they do not use an inner tube.”
Not so!
From the internet… “Compared to the other types of tyre (Tubetype and Tubeless Ready), the tubular tyre has a number of differences that make it more time-consuming and complicated to fit. Not only is it glued to the rim, but it is also sewn directly around the inner tube, which means that replacing it means changing the whole assembly.
Just want to confirm, im a little bit slow. I recently bought a folding tire 29″x2.25 and theres no TLR/TR (tubeless ready) indication. But i have a tubeless ready rims.
Already bought the correct rim tape and sealant for a tubeless conversion.
The question is, will using the tire “which doesn’t have any indication of being tubeless ready” ok?
In order for the tire to hold air for an adequate amount of time without an inner tube, it does need to be a tubeless specific tire. The aftermarket conversion kits can work with any rim, but you still need the tubeless tire.
do the tyres have to be tubeless ready?
They do indeed. Even with the proper sealant, a standard tire would be too porous to adequately hold air without an inner tube.
any rim can convert into tubeless? but tubeless-ready tire must be used right?
That’s correct. A tubeless specific tire must be used.
When I converted my stock Giant rims to tubeless, I actually used black Gorilla Tape. It sealed right and with adding 3 oz. of Stan’s they hold air as reliable as an inner tube.
1/ Can i pour the sealant in through the value (after removing the valve core) instead of the method shown above ? This would be less messy and my tubeless tyres are very hard to get onto the rim.
2/ Would inflating with a CO2 canister be quick enough in the absence of a compressor ?