
After installing the headset and fork, and preparing the wheelset, I’m now going to install the disc brakes. I have a set of Hayes CX Pro mechanical brakes and 160mm rotors. Most disc brakes are made to install on post mount frames with bolt holes 74mm from center to center, with the option to go on IS (International Standard) 51mm tabs using a bracket. This bracket is necessary with Montague frames.
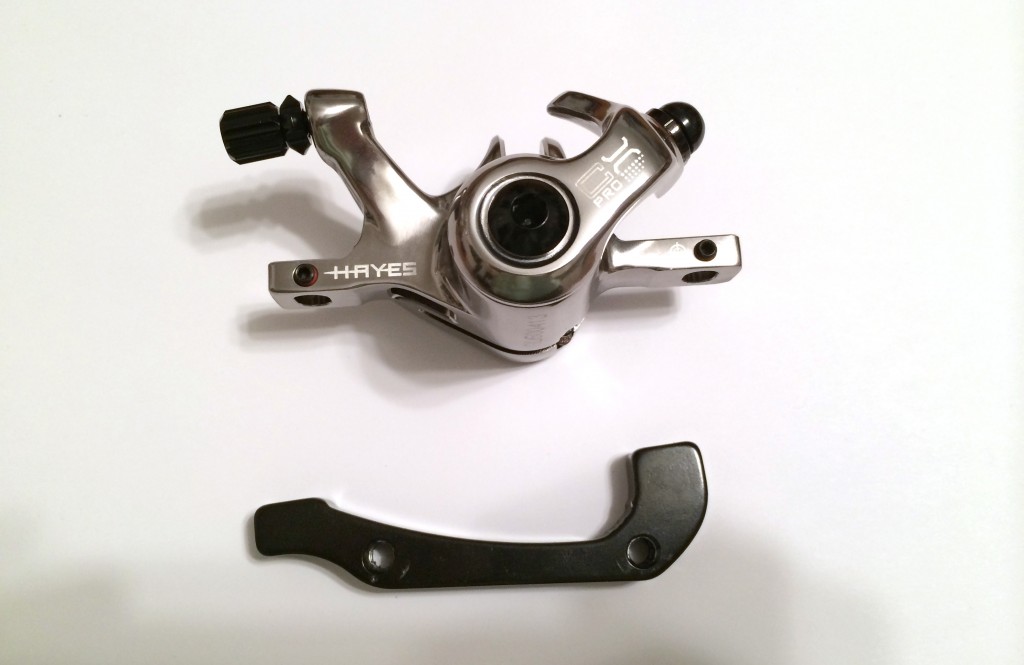
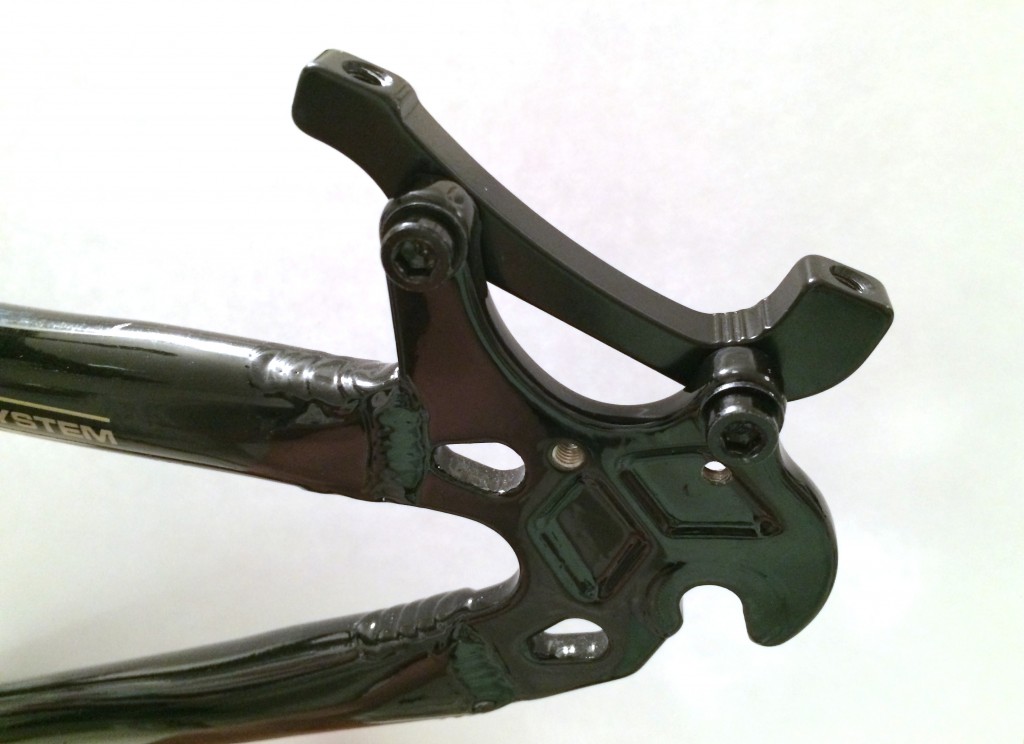
The bracket bolts onto the inside of the tabs on the dropout, providing a platform for the caliper to bolt onto.
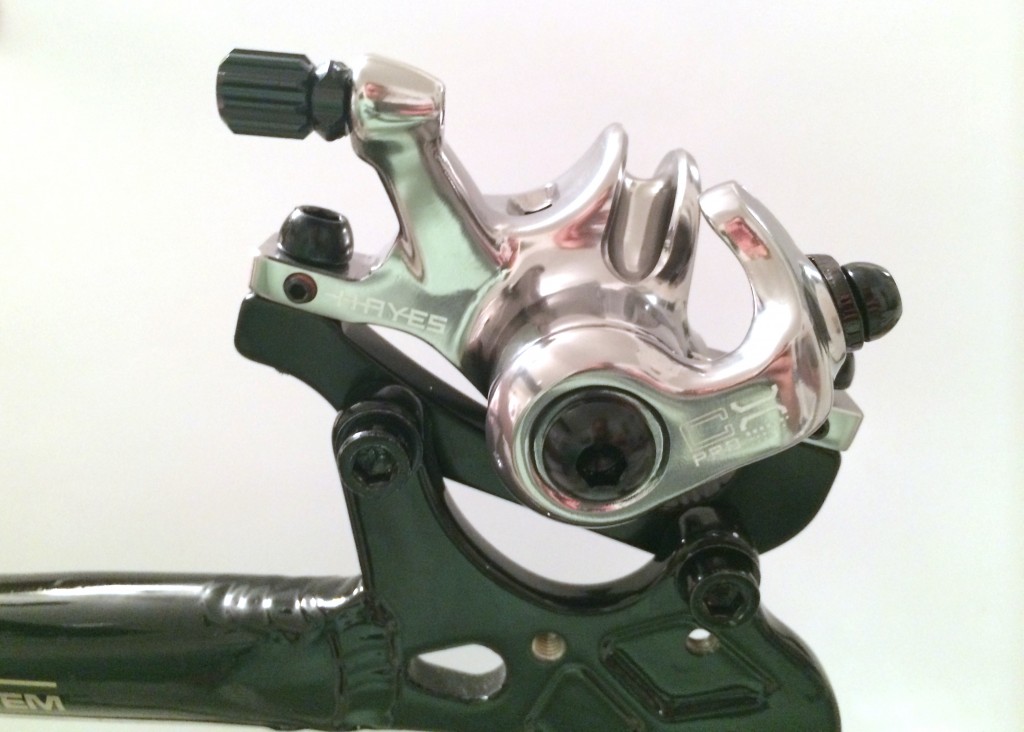
Bolt the caliper on, but don’t tighten the screws all the way. Once the wheel is installed with the rotor, you’ll need to adjust the position of the caliper.
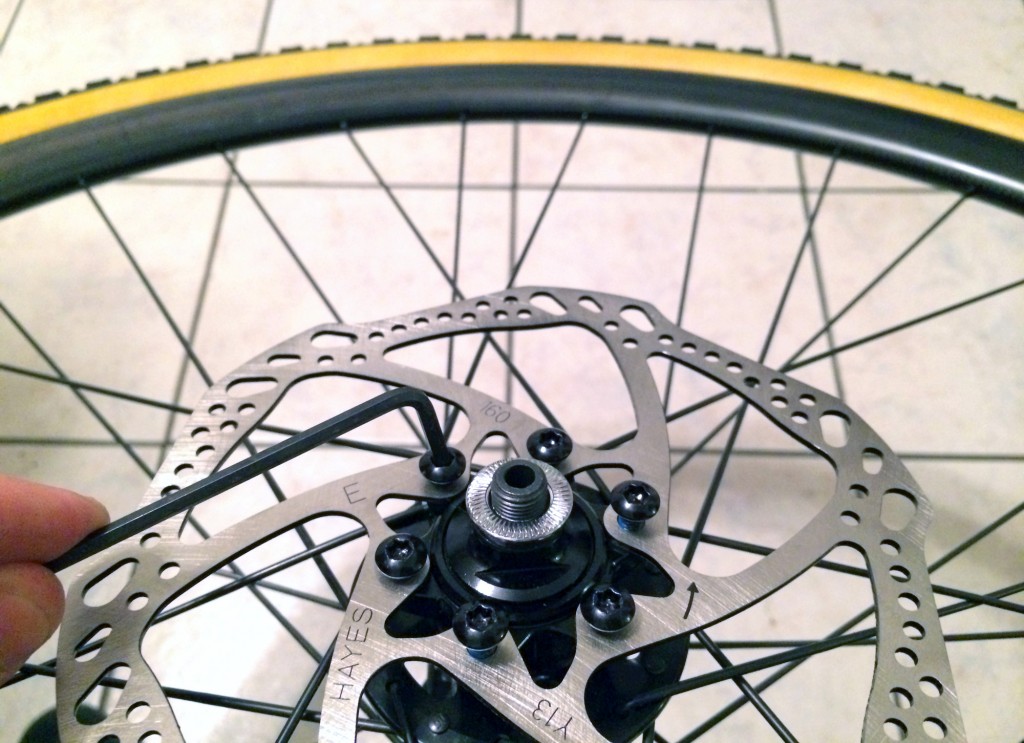
Next, the rotor needs to be bolted to the wheel’s hub. Most use a standard 6 bolt pattern, with the only common exception being Shimano’s Centerlock rotor. Just be sure your hub and rotor match. Rotors are usually directional, so there should be an arrow to indicating the direction they rotate.
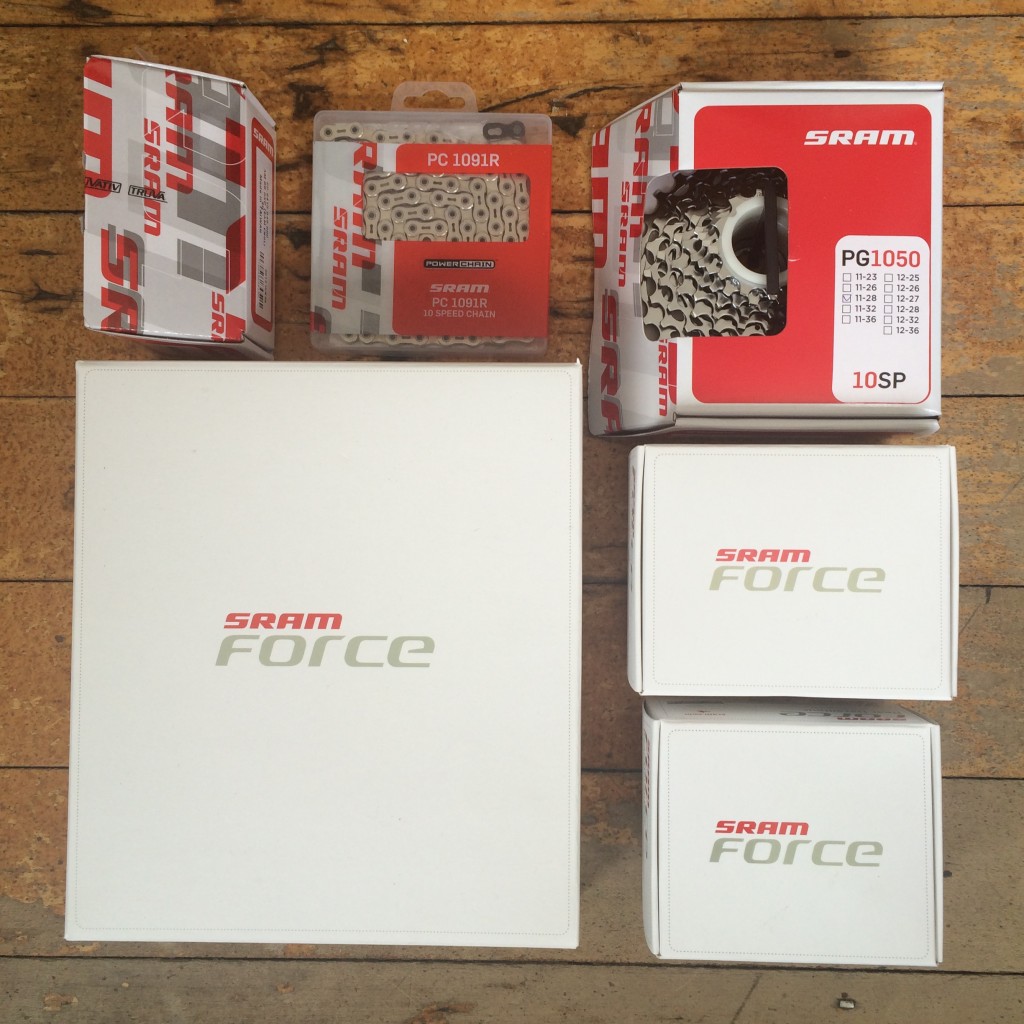
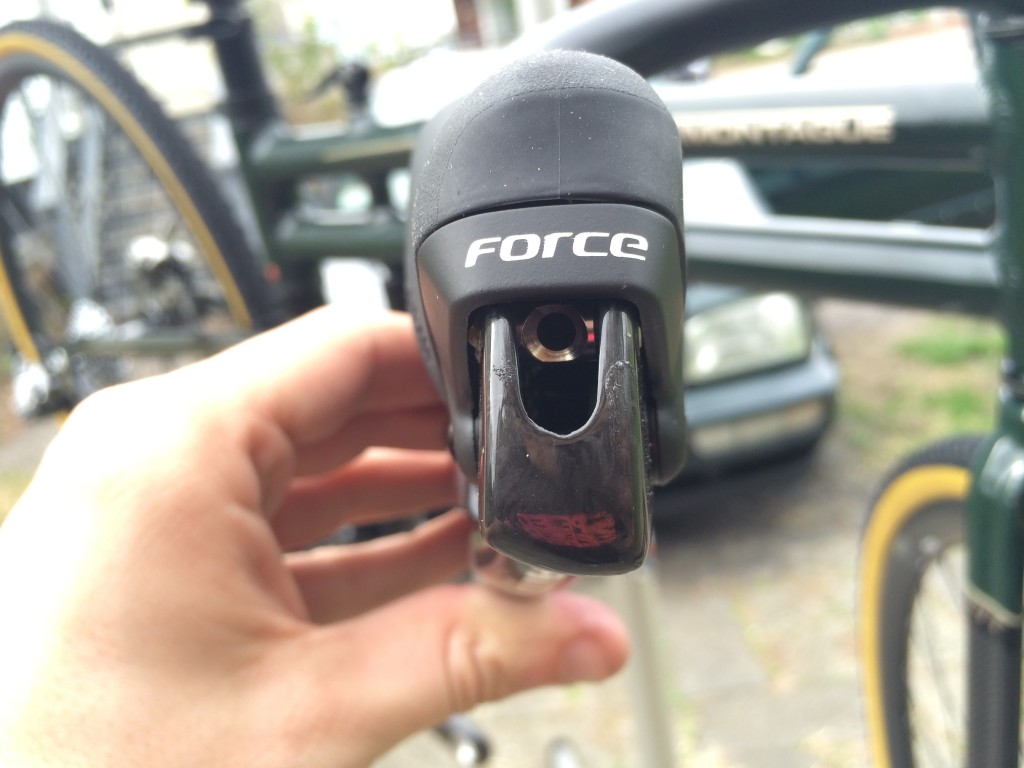
This bike is getting drop bars with integrated shift/brake levers, specifically a SRAM Force groupset.
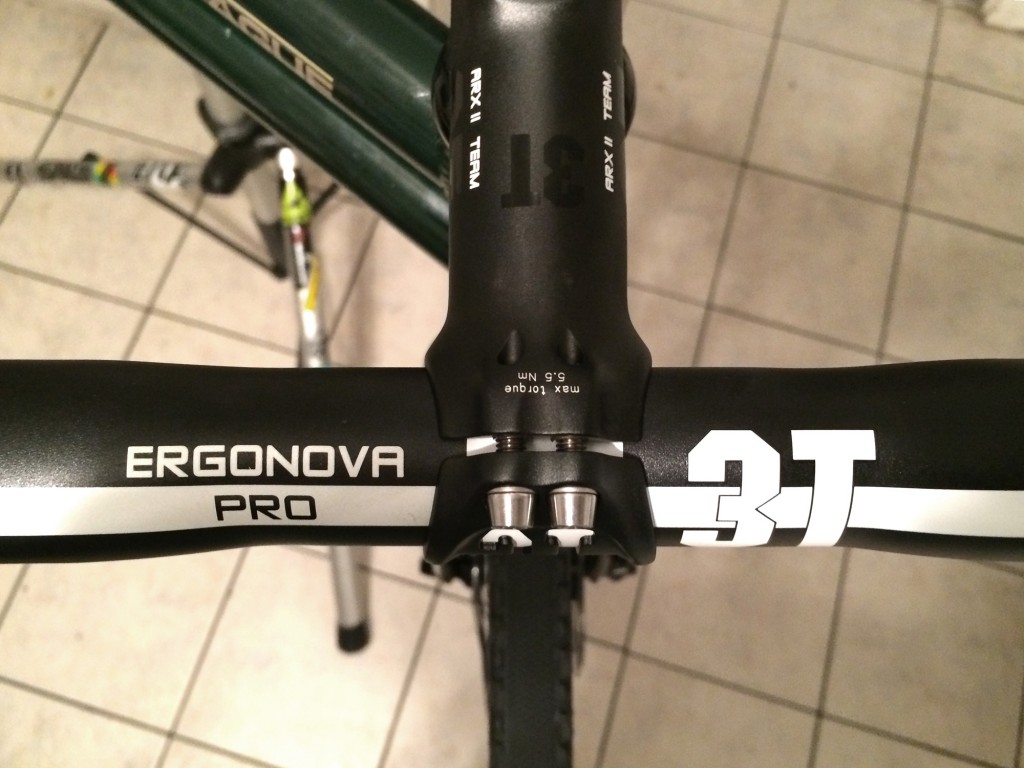
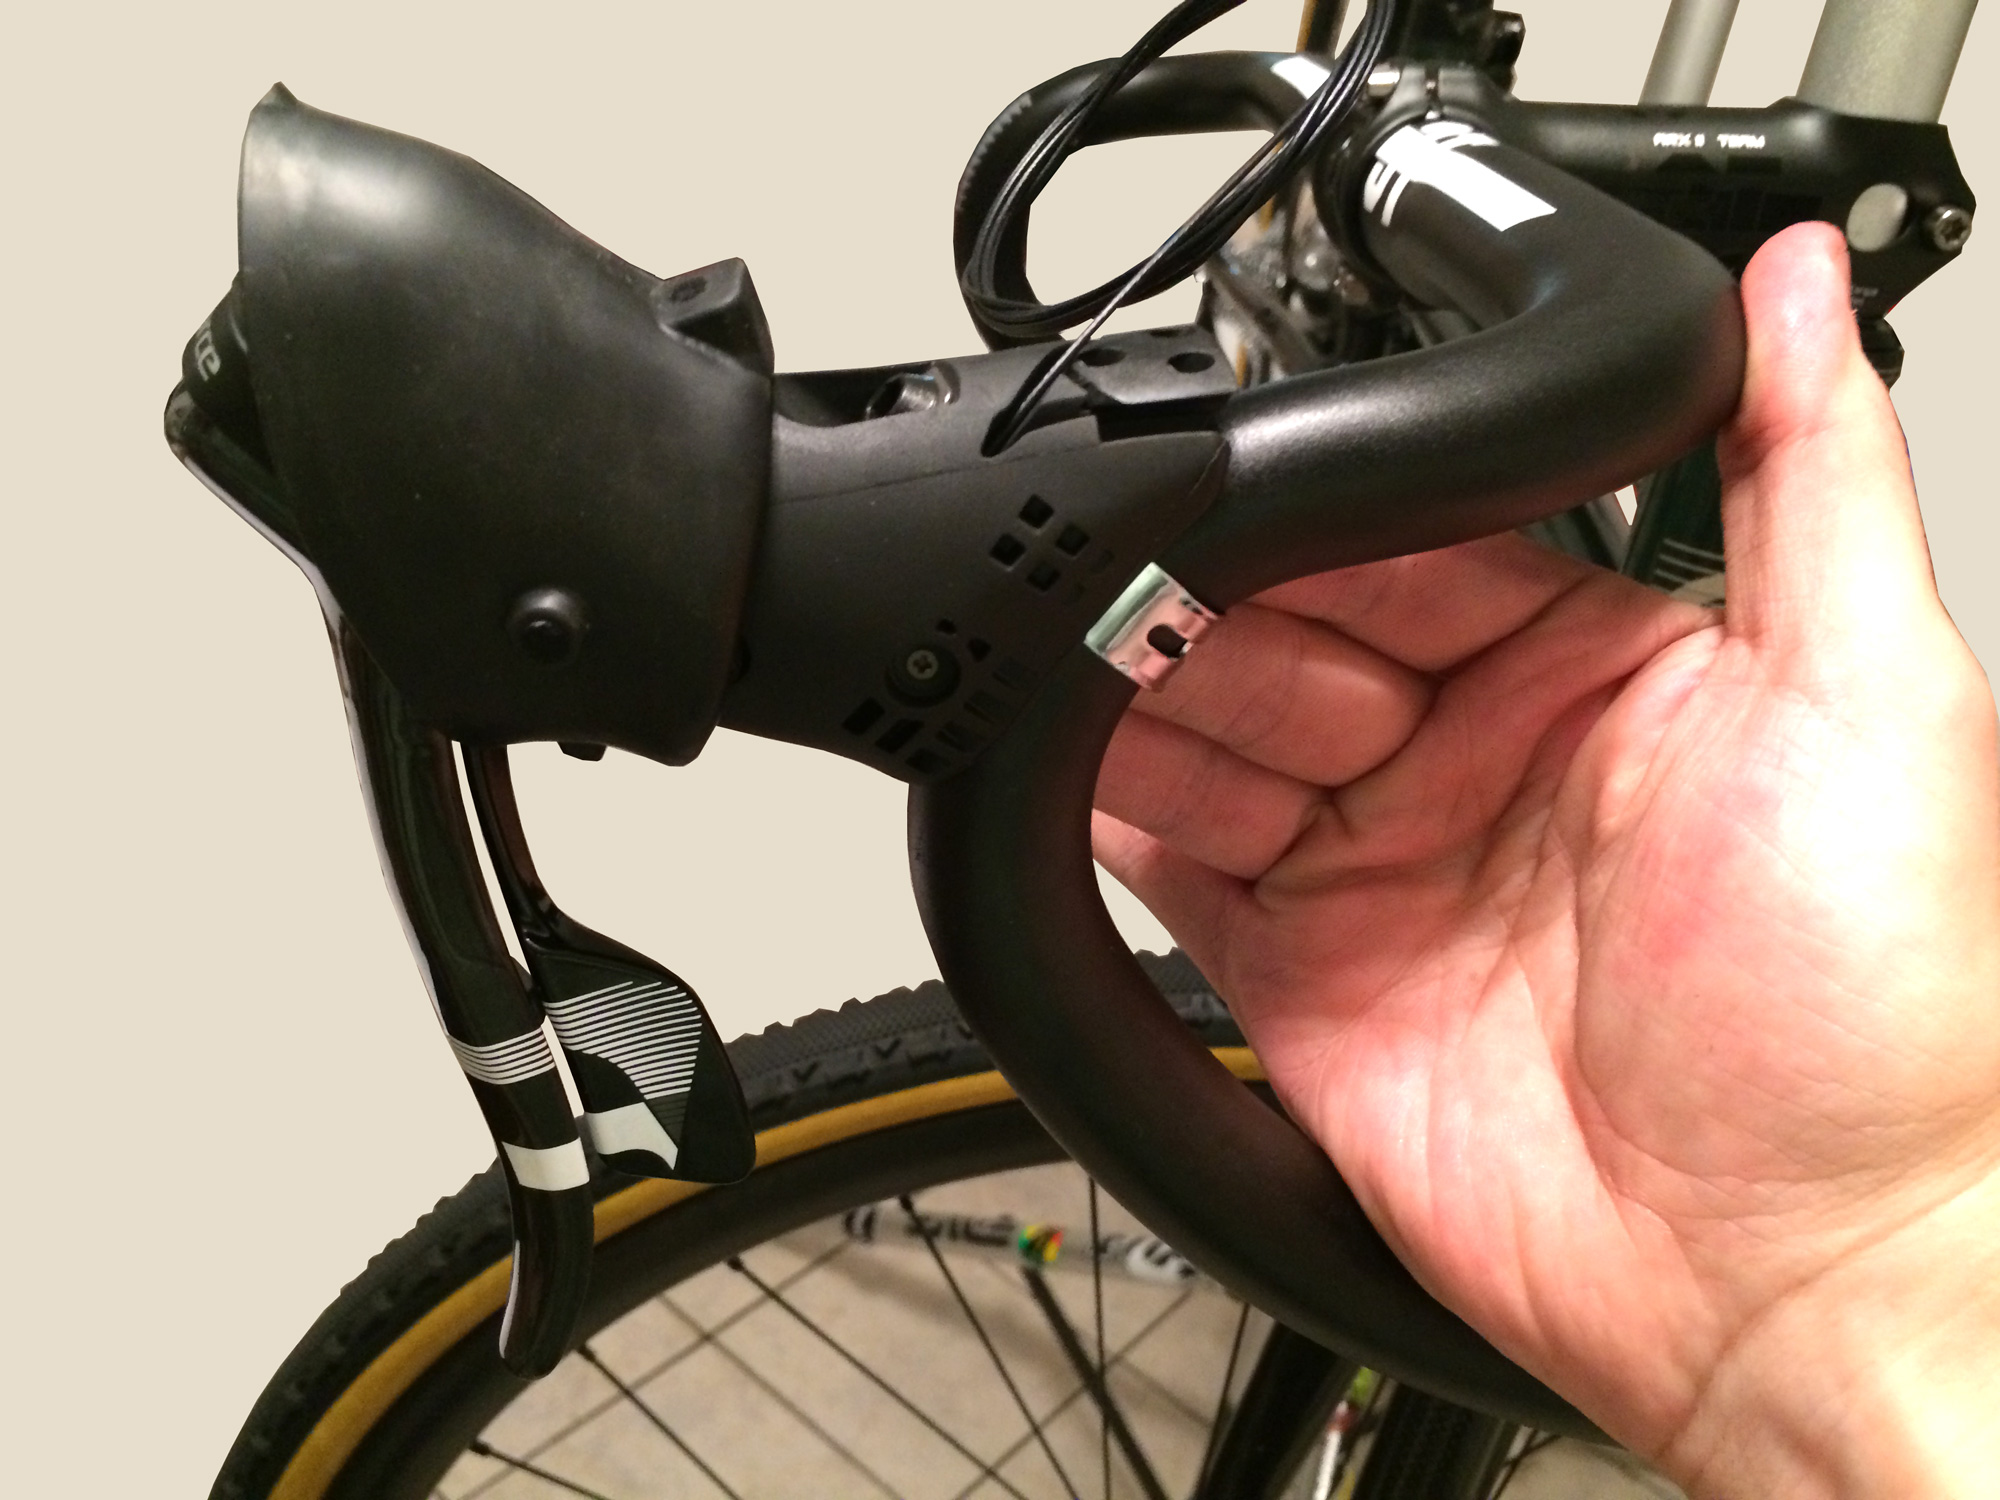
On go the bars, a pair of 3T Ergonova Pro drops. Be sure the tighten down the stem bolts to the specified torque. If you don’t have one, a torque wrench is a pretty useful tool to have in your arsenal.
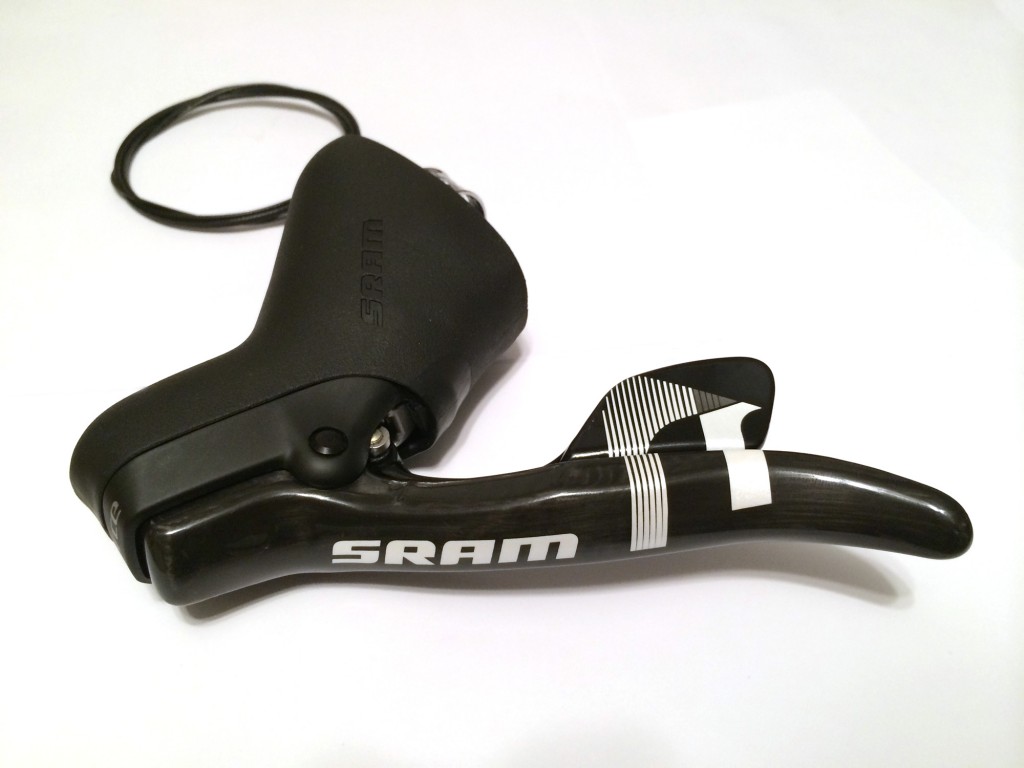
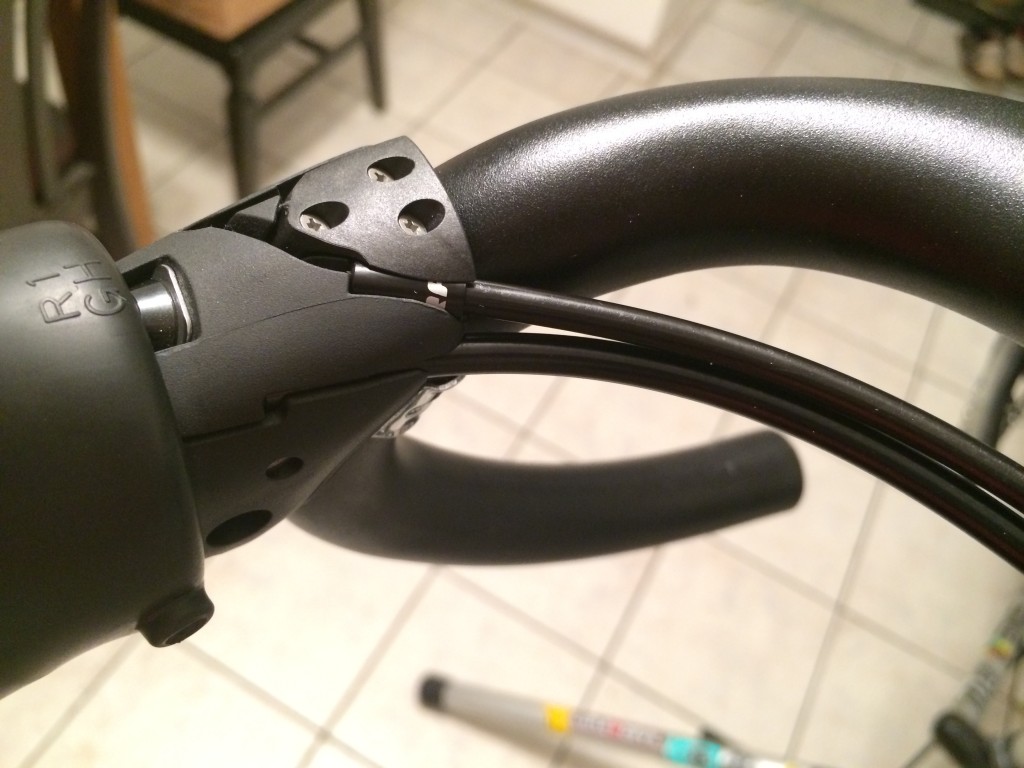
Here it is, the SRAM Force integrated shift / brake lever. It should come with the shift cable pre-installed.
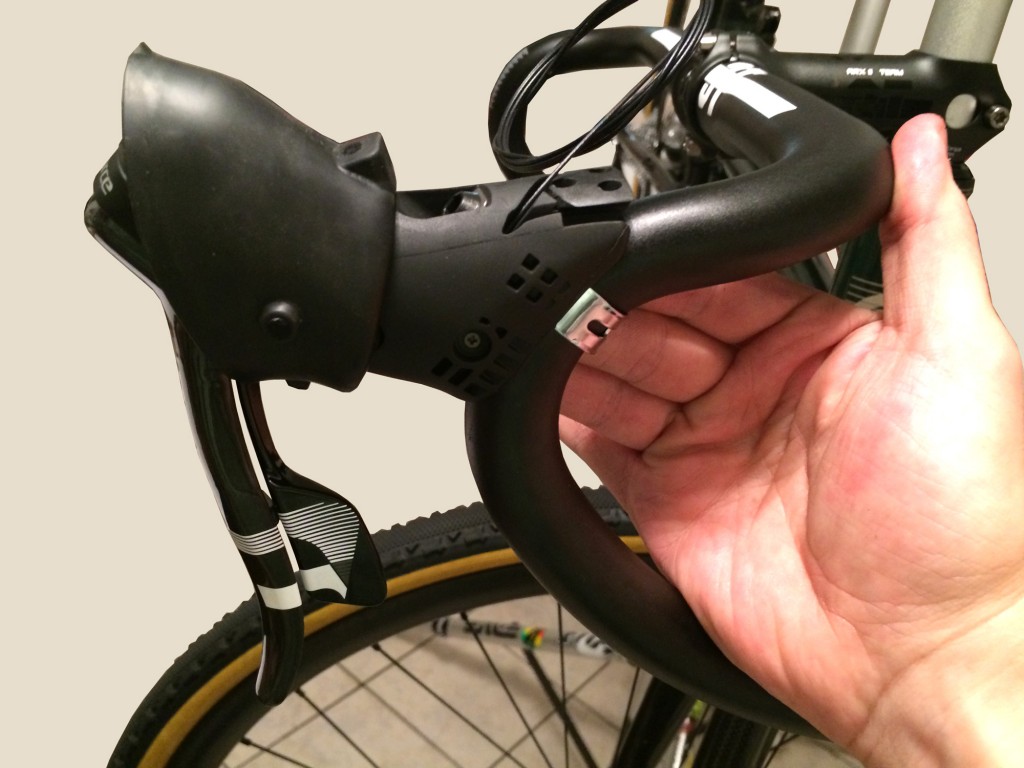
In order to tighten the clamp onto the handlebar and properly deal with the cable housing, roll back the rubber hood from the lever. Slide the lever’s metal clamp onto the bars from the end. The bolt front and center will tighten it down with a clockwise turn.
The front of the lever is where you’ll thread the brake cable through. Push down the lever and you’ll see the opening.
The cable will come out on top right next to the existing shift cable. Thread the cable through your housing, and be sure to use a ferrule on the end. It should easily slide into the slot on the back of the shifter.
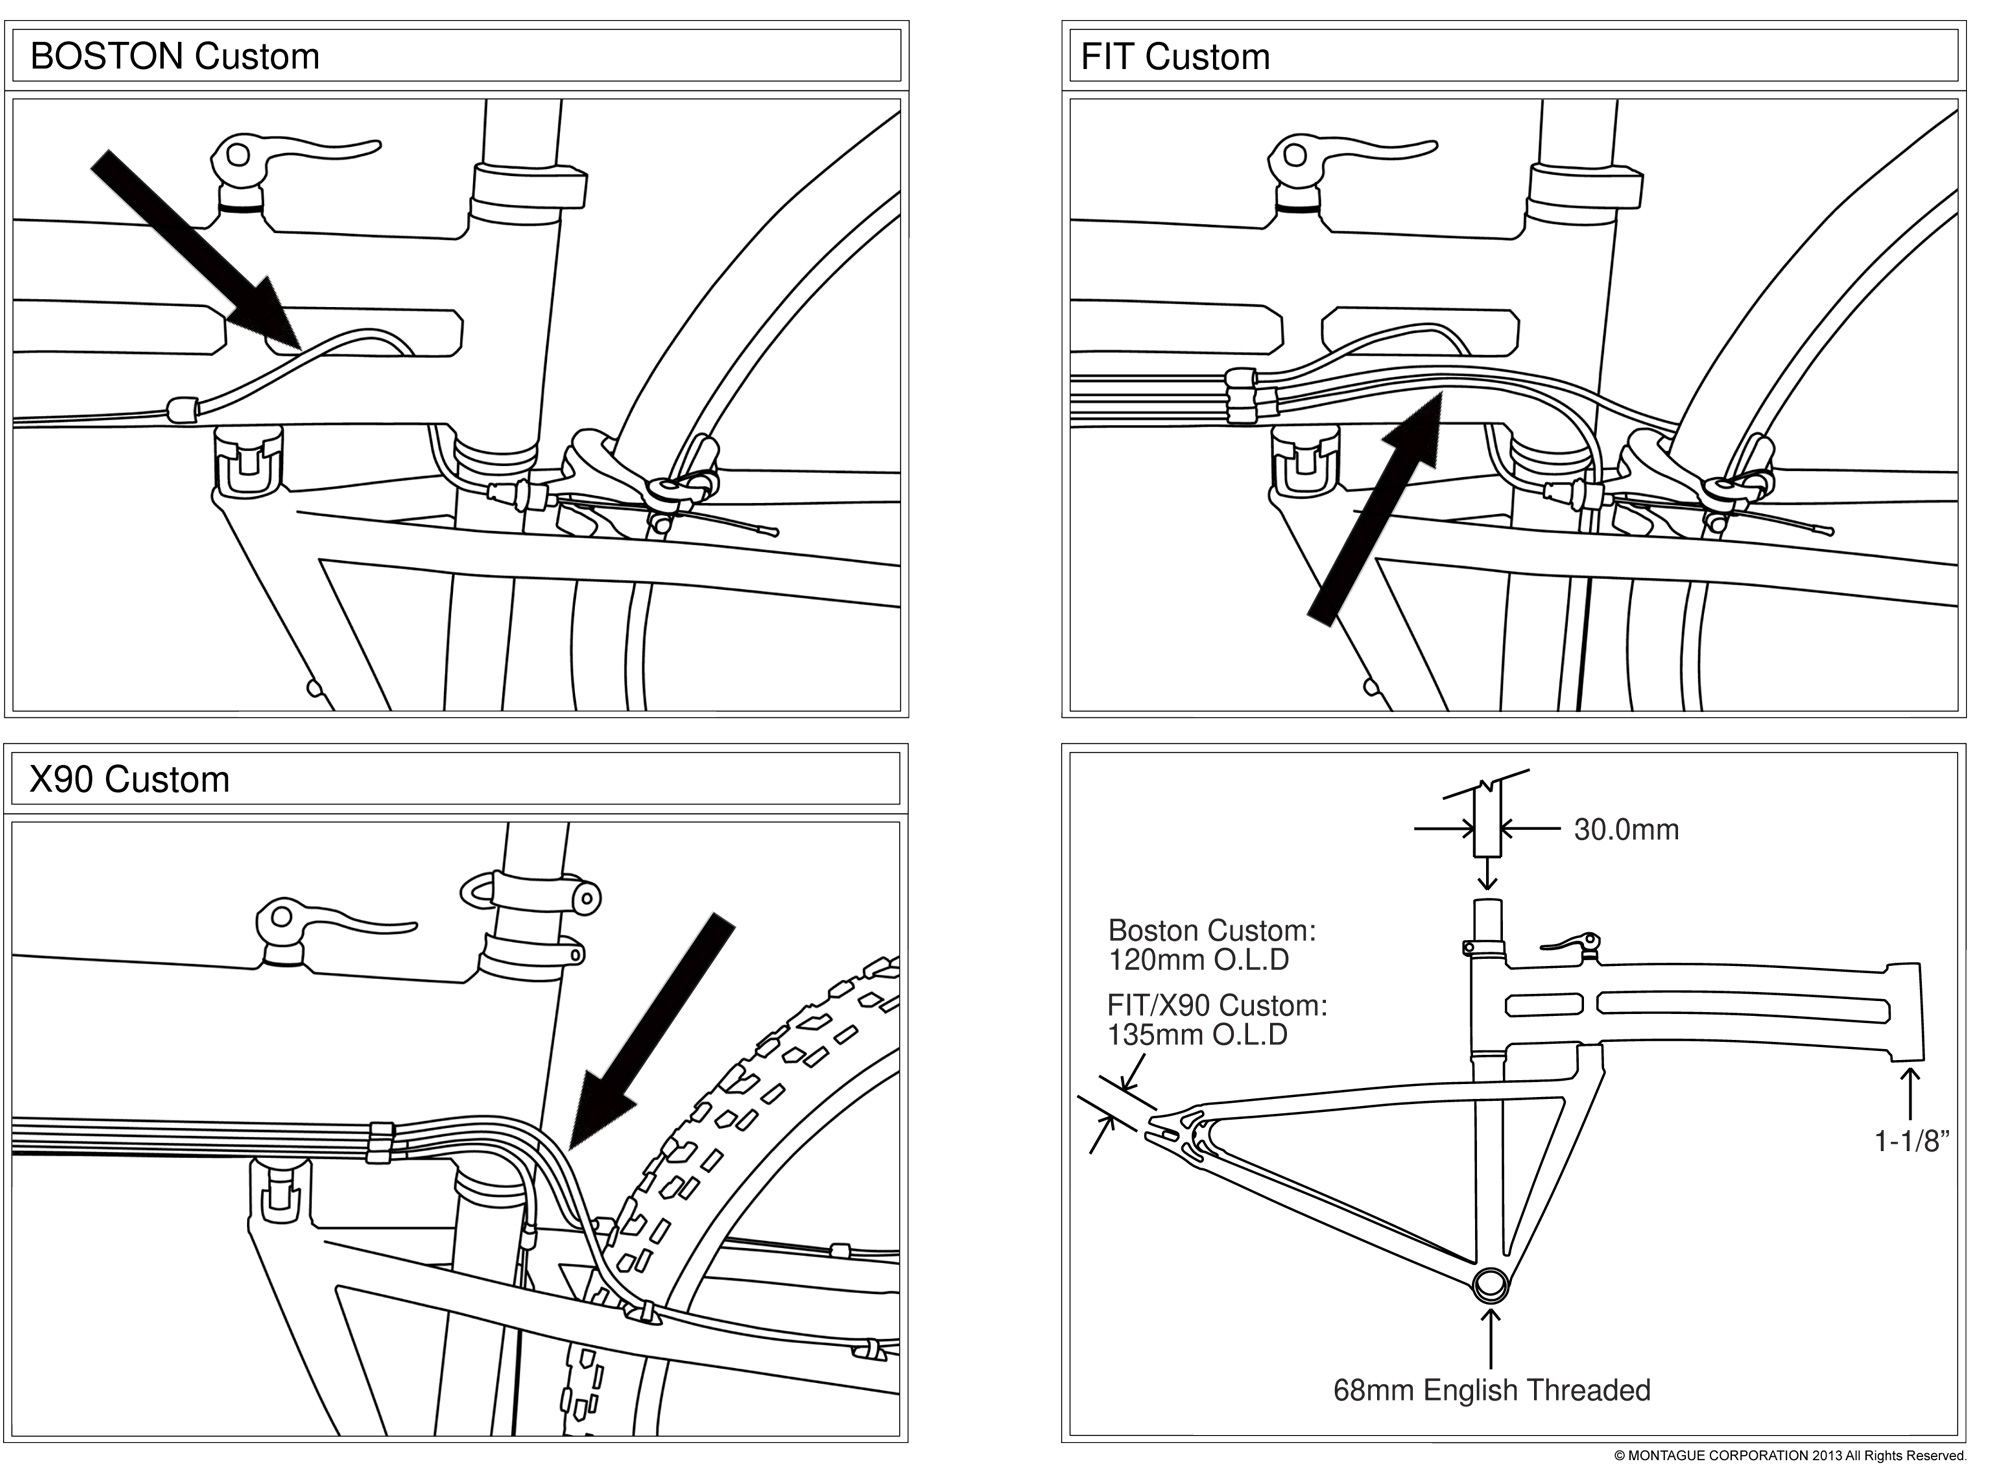
On a Montague bike, proper cable routing around the seat tube is important to ensure there is no added strain when the bike is folded. Here is a handy diagram:

Once you have the cables routed and hooked to the brake calipers we put on the frame earlier, you’ll need to adjust the position of the calipers and the tension on the cable. I’ll refer you to a previous post on this blog for adjusting mechanical disc brakes.
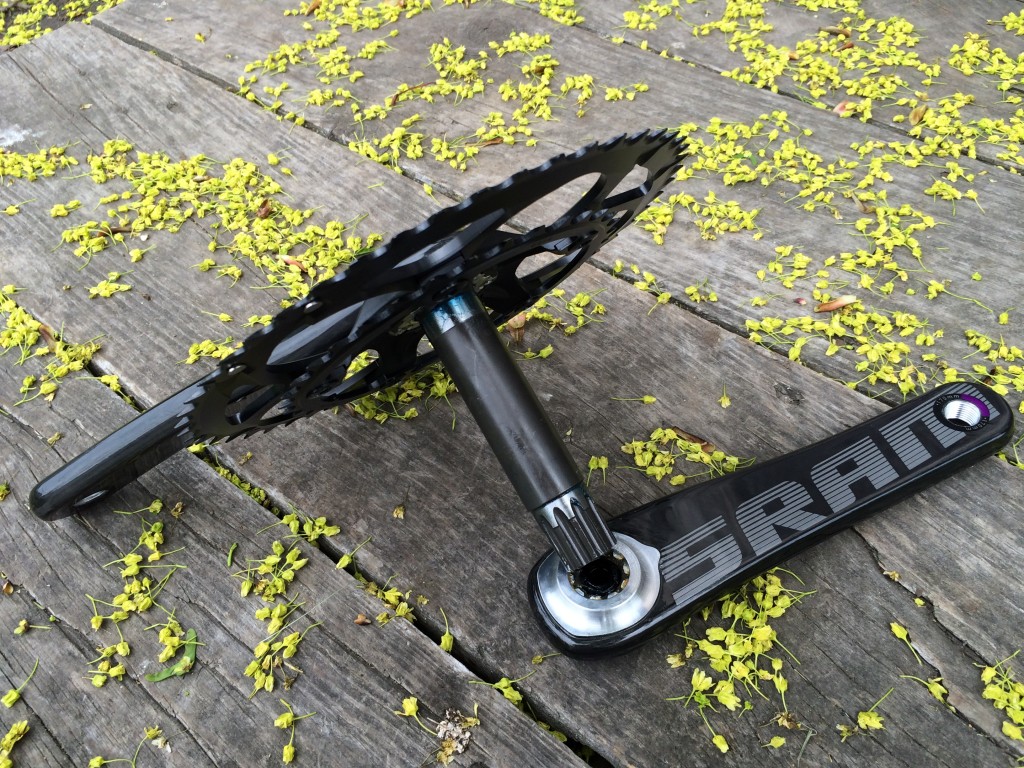
Next time, the crankset, cassette, and front and rear derailleurs are going to be installed. Keep an eye out for the next installment… here’s a little sneak peak:

could you install hydraulic brakes on the fit frame? would there be a problem? maybe with the rear cable routing? thank you in advance
Hey Anastasios,
You could use hydraulic brakes on one of our FIT frames. The only thing you would need to do is get some hydraulic housing guides that can clip into the cable stops. Problem Solvers makes a product like this. Since the frame has stops for cables, a continuous hose can’t pass through there.
http://problemsolversbike.com/products/hydraulic_brake_hose_guides
Did you ever finish this tutorial, i cant find the “crankset, cassette, and front and rear derailleurs” part!